


Power-Cycling Setups
Table of Contents
A common misconception about power-cycling is that it requires an expensive gym membership, a personal trainer, and a complex program designed by exercise scientists. The truth is, you can begin building cycling-specific strength with minimal equipment—or even none at all.
This guide breaks down your equipment options from bodyweight-only training to full gym setups, helping you understand what you actually need versus what’s nice to have.
The Minimalist Setup: Bodyweight Only
You can start power-cycling with zero equipment using bodyweight exercises. This is the perfect entry point for cyclists new to strength training, and it’s effective enough to produce measurable gains for 6-12 months.
What You Can Do
Lower Body:
- Squats and squat variations (narrow, wide, pause squats)
- Lunges (forward, reverse, walking)
- Bulgarian split squats (rear foot elevated on chair or couch)
- Single-leg deadlifts
- Pistol squats (advanced single-leg squats)
- Jump squats and broad jumps
- Box step-ups using stairs or a sturdy bench
Core:
- Planks (front, side, and variations)
- Bird dogs and dead bugs
- Mountain climbers
- Bicycle crunches
- Hollow body holds
- Glute bridges and single-leg bridges
Upper Body:
- Push-ups (regular, wide, narrow, decline, pike)
- Pull-ups or chin-ups (if you have a bar or sturdy ledge)
- Door frame rows using a towel
- Dips using a chair or bench
- Handstand progressions against a wall
The Reality Check
Bodyweight training is highly effective for:
- Learning proper movement patterns
- Building initial strength and muscle endurance
- Developing body awareness and control
- Addressing mobility limitations
However, once you can perform 20+ bodyweight squats or 3 sets of 15 push-ups easily, you’ll need to add resistance to continue building maximum strength.
Cost: $0
Effectiveness: High for beginners to intermediate cyclists
Time to outgrow: 6-12 months for most people
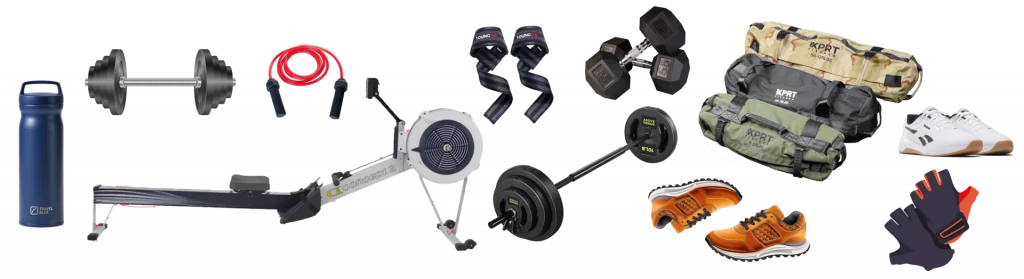
The Home Gym Setup
Adding a few key pieces of equipment opens up significantly more training options and allows for progressive overload—the key to continued strength gains.
Essential Home Equipment
1. Adjustable Dumbbells (20-50 lbs or 10-25 kg per hand)
This is the single best investment for home strength training. Quality adjustable dumbbells let you quickly change weight and perform dozens of exercises.
What you can do:
- Goblet squats
- Romanian deadlifts
- Single-arm rows
- Overhead press
- Weighted step-ups
- Bulgarian split squats (holding dumbbells)
- Farmer’s carries
- Chest press (lying on the floor or bench)
Cost: $150-400 depending on quality
Recommended brands: Bowflex SelectTech, PowerBlock, Ironmaster
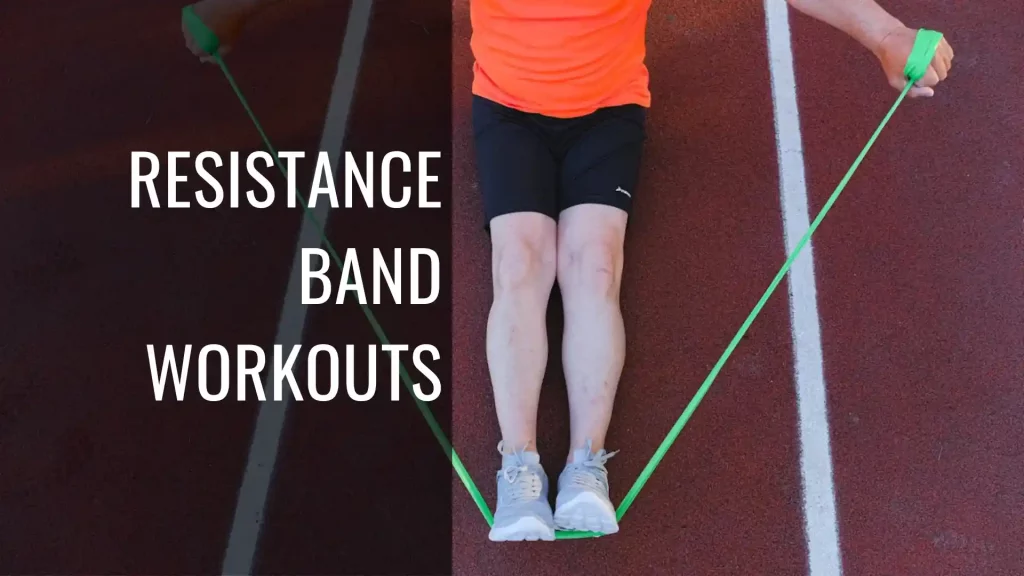
2. Resistance Bands (set of 3-5 bands with varying resistance)
Versatile, portable, and perfect for activation work, lateral movements, and adding resistance to bodyweight exercises.
What you can do:
- Banded squats and deadlifts
- Lateral walks and monster walks
- Pull-aparts and face pulls
- Assisted pull-ups
- Resisted push-ups
- Pallof press (anti-rotation core work)
Cost: $20-50 for a quality set
Recommended: Loop bands and bands with handles
3. Yoga Mat or Exercise Mat
Essential for floor work, core exercises, and stretching. Provides cushioning and stability.
Cost: $20-40
Total Essential Home Setup: $200-500
Next Level Home Additions
Once you’ve mastered the essentials, these additions significantly expand your training options:
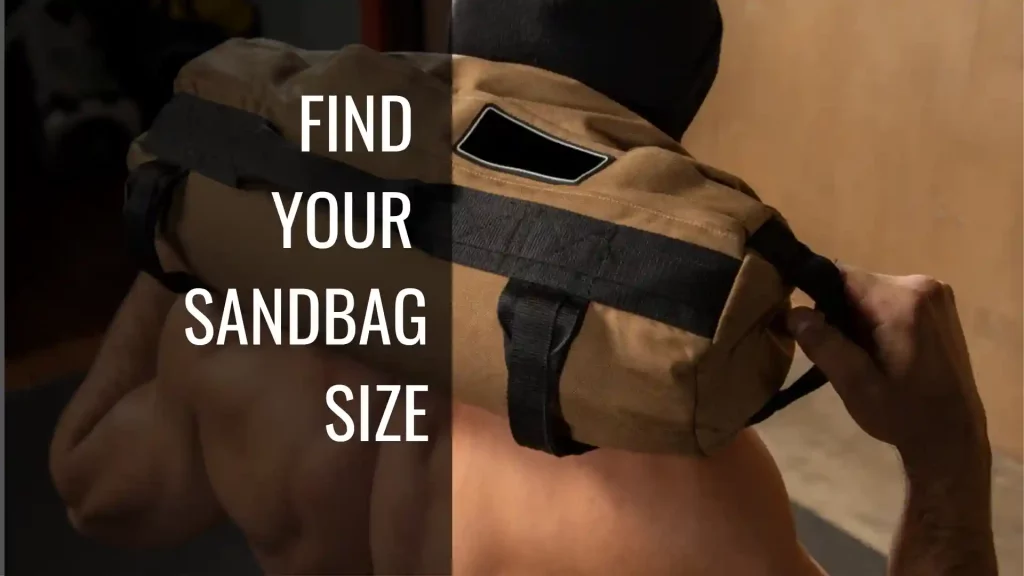
4. Sandbag (40-100 lbs or 18-45 kg)
Incredibly versatile and uniquely cycling-specific. The shifting weight builds functional strength and core stability that translates directly to bike handling and power transfer.
What you can do:
- Sandbag squats (front-loaded or shouldered)
- Sandbag lunges and walking lunges
- Shouldered carries
- Sandbag cleans
- Zercher squats (bag in elbow crease)
- Ground-to-shoulder lifts
Why it’s special: The unstable, shifting load forces your core and stabilizers to work harder than fixed weights. This directly improves your ability to generate and transfer power on the bike, especially on rough terrain or during hard efforts.
Cost: $50-150
DIY option: Fill duffel bags with sand or mulch bags—works surprisingly well
5. Kettlebell (24-40 lbs or 12-18 kg)
Excellent for ballistic movements and single-arm work that builds power and addresses imbalances.
What you can do:
- Kettlebell swings (the king of posterior chain development)
- Goblet squats
- Single-arm rows
- Turkish get-ups
- Single-arm overhead press
- Kettlebell deadlifts
Cost: $40-100 depending on weight
6. Pull-Up Bar (doorway or wall-mounted)
Upper body pulling is crucial for cyclists to counterbalance the forward riding position and prevent injury.
What you can do:
- Pull-ups and chin-ups
- Hanging leg raises (advanced core work)
- Active hangs for shoulder health
Cost: $25-80
Note: Doorway bars work for most people; wall-mounted versions are more stable
7. Plyo Box or Adjustable Step
Perfect for step-ups, box jumps, and Bulgarian split squats with proper height.
What you can do:
- Box step-ups (excellent single-leg work)
- Box jumps and depth jumps
- Elevated Bulgarian split squats
- Decline push-ups
- Box squats (teaching proper depth)
Cost: $60-120
DIY option: Sturdy wooden box or stacked aerobic steps
Complete Home Setup: $400-900
This gives you everything needed for a comprehensive power-cycling program without ever visiting a gym.
Relevant Posts
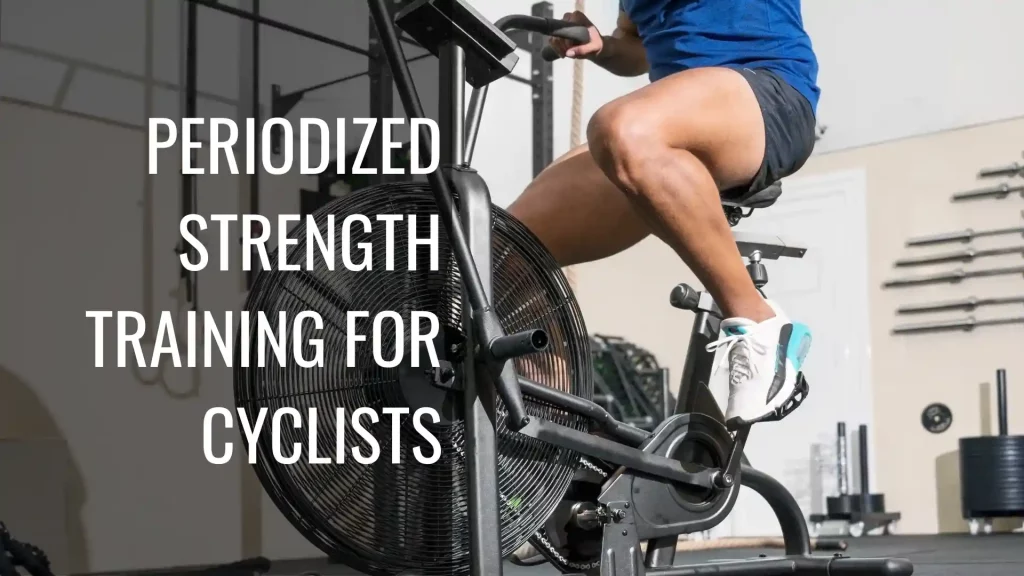
The Gym Option
Barbell and Plates
- Back squats and front squats with heavy loads
- Conventional and sumo deadlifts
- Olympic lifting variations (cleans, snatches)
- Bench press
- Barbell rows
- The ability to progressively load beyond what dumbbells offer
Squat Rack and Safety Equipment
- Safe heavy lifting with spotter arms
- Adjustable heights for different exercises
- Peace of mind when pushing limits
Cable Machines
- Constant tension throughout movements
- Unique angles impossible with free weights
- Pallof press, cable rows, face pulls
- Rotational movements for core
Leg Press and Hack Squat
- Alternative loading patterns
- Ability to push heavy weight with reduced technical demand
- Good for training to failure safely
Specialized Equipment
- GHD (glute-ham developer) for hamstring work
- Leg curl and leg extension machines
- Pulldown and rowing machines
- Adjustable benches and specialty bars
The Tradeoffs
Advantages:
- Heaviest loads possible for maximum strength
- Widest variety of exercises
- Professional environment and community
- Access to coaches and expertise
- Safety equipment for heavy lifts
Disadvantages:
- Monthly cost ($20-100+ depending on location and amenities)
- Travel time to and from the gym
- Peak hour crowds and equipment waits
- Less convenient than home training
- Monthly commitment
Cost: $20-80/month ($240-960/year)
Effectiveness: Excellent for all levels, especially those pursuing maximum strength
Equipment Recommendations by Experience Level
Complete Beginner (0-6 months strength training)
Start with: Bodyweight only
Why: Learn movement patterns, build base fitness, assess commitment
Investment: $0
Beginner (6-12 months)
Start with: Adjustable dumbbells + resistance bands + mat
Why: Progressive overload becomes necessary, home training is convenient
Investment: $200-500
Intermediate (1-2 years)
Option A (Home): Add sandbag + kettlebell + pull-up bar
Option B (Gym): Join a gym for barbell training
Why: Ready for heavier loads and more variety
Investment: $200-400 more for home OR $20-60/month for gym
Advanced (2+ years)
Best option: Gym membership for maximum strength development
Why: Access to heavy barbells and specialized equipment
Maintenance option: Well-equipped home gym if space and budget allow
Investment: $1,500-3,000 for comprehensive home gym OR $30-80/month for quality gym
Making Your Decision
Choose based on these factors:
Choose bodyweight training if:
- You’re completely new to strength training
- You want zero financial commitment
- You travel frequently
- You want to test the waters before investing
Choose home equipment if:
- You value convenience and time efficiency
- You prefer training alone
- You have space for equipment
- You’re committed long-term (equipment pays for itself vs. gym membership)
- You’ll actually use it consistently
Choose a gym membership if:
- You want maximum strength development
- You need the motivation of a training environment
- You want access to coaches and community
- You don’t have space at home
- You enjoy variety and specialized equipment
The hybrid approach: Many successful power-cyclists use a combination: home equipment for quick maintenance sessions and a gym membership for heavy lifting days. This provides maximum flexibility.
The Bottom Line
You don’t need much to start. Begin with bodyweight exercises and assess your commitment and progress. Most cyclists will see excellent results with a modest home setup of adjustable dumbbells, bands, and a few accessories. The best equipment is the equipment you’ll actually use consistently.
Remember: Power-cycling is about the training methodology and strategic integration with cycling, not about having the perfect equipment. Bodyweight mastery should come first—if you can’t perform 20 quality bodyweight squats or hold a plank for 60 seconds, start there before adding external load.
The key to power-cycling success isn’t found in equipment—it’s found in consistent, progressive training integrated intelligently with your riding schedule.