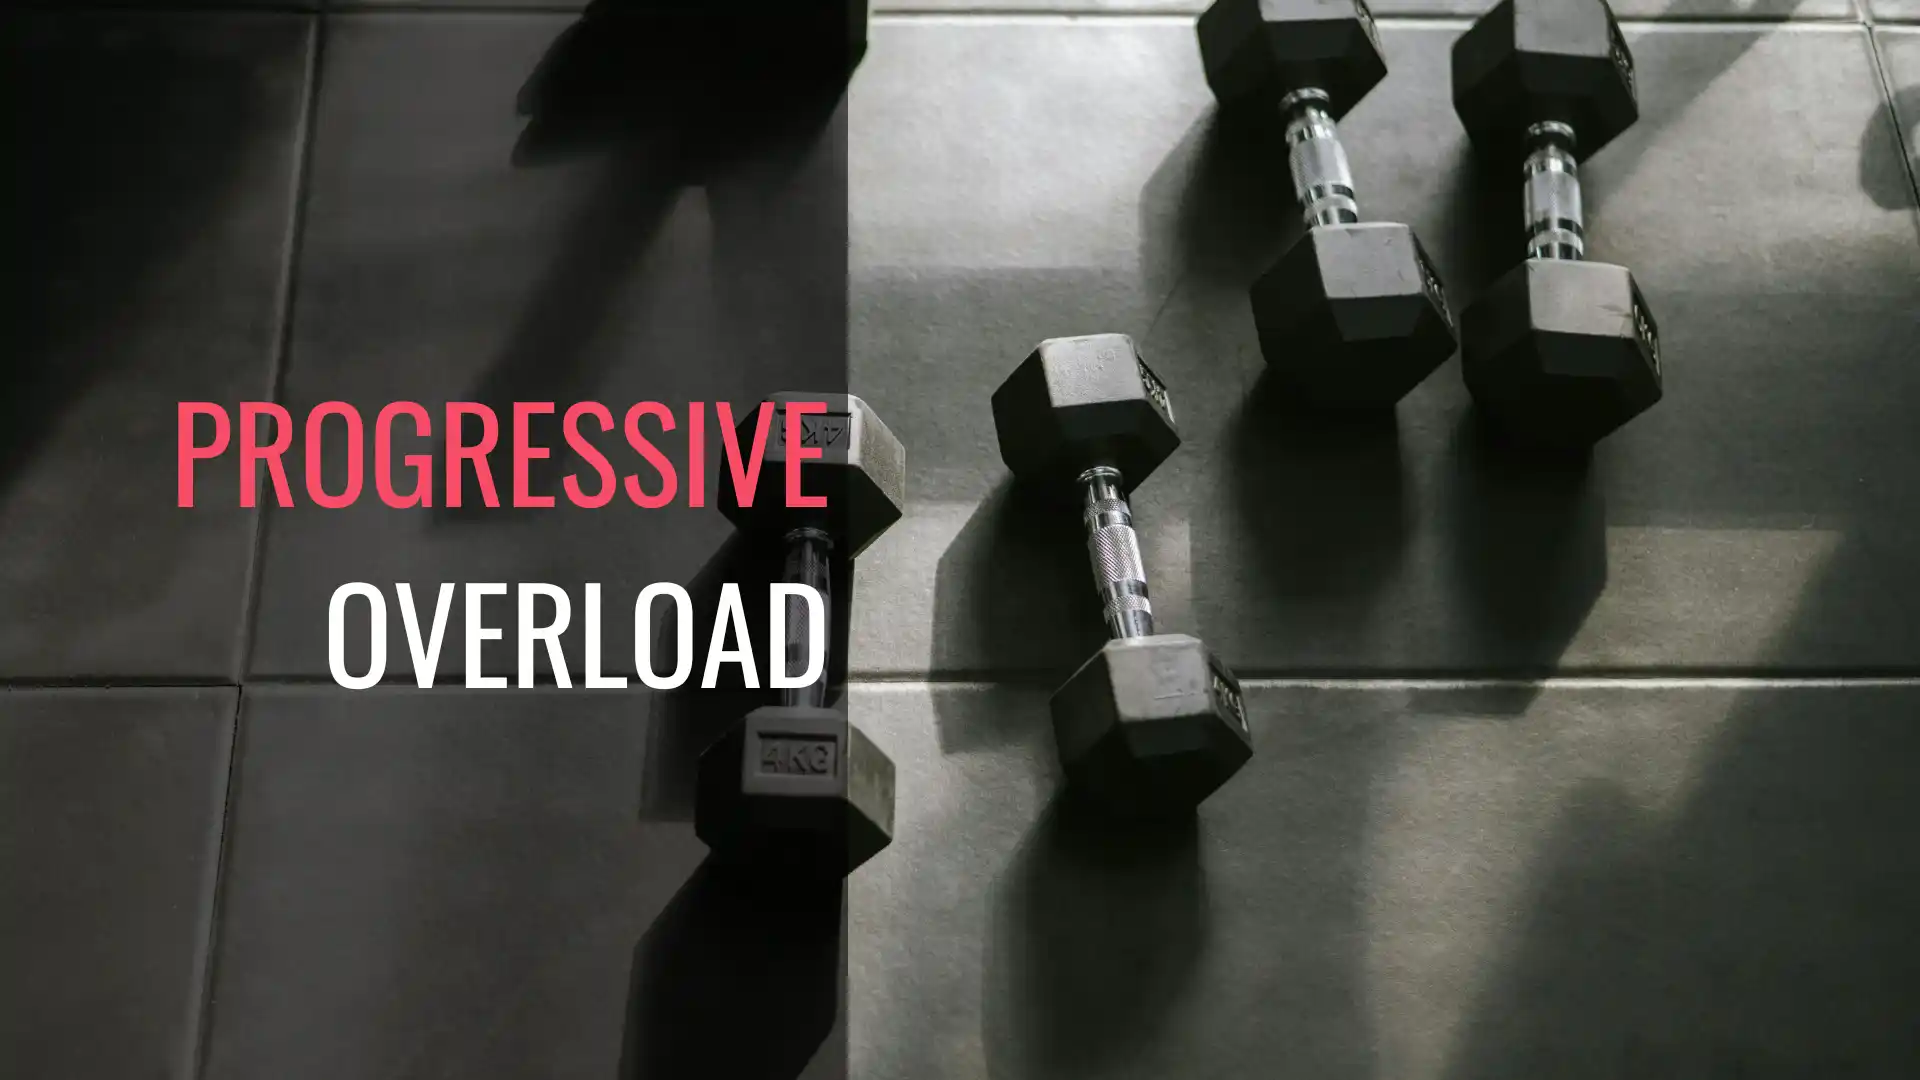
If you’ve ever wondered why your fitness seems to plateau no matter how many miles you log, the answer is almost certainly not more riding — it’s smarter strength training. Progressive overload is the principle that separates cyclists who maintain their current fitness from those who consistently break through to new levels of speed, power, and endurance. It’s not complicated, but it is deliberate: your body only adapts when it’s asked to do slightly more than it’s done before.
This guide breaks down exactly how that process works, why it matters specifically for cyclists, and how to apply it practically using the strength tools built into the Pedal My Way app — so every session you log is moving you forward, not just keeping you busy.
Table of Contents
Understanding the Science of Progressive Overload
Progressive overload is the foundational principle behind every meaningful strength adaptation your body makes. At its core, it’s simple: your muscles, tendons, and nervous system only grow stronger when they’re asked to do more than they’ve done before. Without that incremental challenge, your body has no biological reason to change.
When you apply a training stress — lifting a heavier load, completing more repetitions, or reducing rest time — your muscle fibers experience microscopic damage. During recovery, your body repairs that damage and rebuilds slightly stronger tissue, a process called supercompensation. The key is that this only happens when the stimulus is progressive. Do the same workout indefinitely and you’ll maintain fitness, but you’ll never build on it.
For cyclists, this science matters because cycling itself is a relatively low-resistance, high-repetition activity. Your legs are adapted to endurance, not force production. Progressive overload in the gym targets the high-threshold motor units that pedaling at steady state simply never recruits — and those are exactly the units that fire when you sprint, climb out of the saddle, or respond to an acceleration. Getting comfortable with the idea that small, consistent increases compound into significant strength gains over a training season is where most cyclists begin to unlock performance they didn’t know they had.
Why Cyclists Need Resistance Training to Improve Speed
Speed on the bike comes down to two things: how much force you can apply to the pedal, and how quickly you can repeat that force. Cardiovascular fitness addresses the repetition side of the equation, but raw force production is a neuromuscular quality — and it’s developed in the gym, not on the road.
Research consistently shows that cyclists who incorporate resistance training improve their cycling economy, meaning they use less oxygen to produce the same power output. That efficiency gain translates directly into higher sustainable speeds. A stronger glute, quad, or hamstring doesn’t just push harder — it fatigues more slowly relative to its capacity, which means your legs hold form and output deeper into a ride or race.
There’s also a hormonal and structural case. Resistance training stimulates testosterone and growth hormone responses that cycling alone doesn’t trigger. It builds connective tissue resilience that protects against overuse injuries like IT band syndrome, patellar tendinopathy, and lower back issues that plague high-volume cyclists. And perhaps most practically, it corrects the muscular imbalances that develop when you spend thousands of hours in the same cycling-specific movement pattern. If your hip flexors dominate and your glutes are underactive, no amount of interval training will fix that — but a targeted strength program will.

Establishing Your Baseline Metrics in the Strength Builder App
Before you can progress, you need to know where you’re starting. Jumping into heavy loads without an honest baseline is one of the most common mistakes cyclists make when they first come to the gym — it leads to poor form, injury, and discouragement.
When you open the Strength Builder app for the first time, resist the urge to test your maximum. Instead, work through each movement with a weight that feels moderately challenging for the prescribed rep range — something you could do three or four more reps with before true failure. Log that weight alongside your rep count and any notes on how the set felt. This is your working baseline, not a test of your ceiling.
Over the first two to three weeks, your logged numbers will reveal your actual strength profile across movements. You’ll likely find meaningful asymmetries — your left leg may fatigue earlier in split squats, or your hip hinge may be considerably weaker than your quad-dominant exercises. These early sessions are data collection as much as training. The app’s tracking structure is designed to make this pattern visible quickly so you can prioritize where progressive overload will deliver the most return on investment for your cycling.

Manipulating Variables: When to Increase Weight vs. Reps
Progressive overload doesn’t mean adding weight every session. That approach works briefly for beginners, but it quickly leads to form breakdown and stalled progress. Smarter progression means understanding which variable to manipulate and when.
The general rule is to progress through reps before adding load. If your program prescribes 3 sets of 8 reps at a given weight, work toward completing all three sets cleanly at the top of that range — say, 10 reps per set — before increasing the weight. When you do add load, a 5% increase for lower body movements and 2.5% for upper body is a reliable guideline. This keeps the adaptation stimulus consistent without overwhelming your recovery capacity.
There are also other variables worth cycling through: adding a set, reducing rest intervals, slowing the eccentric (lowering) phase, or introducing tempo prescriptions. These create progressive overload through neural demand rather than load, which is especially useful in periods of high cycling volume when your legs are already carrying significant fatigue. The app lets you track all of these variables so you’re never guessing whether you’re actually progressing — the numbers tell the story.
Balancing Increased Load with Proper Recovery Time
Progressive overload only works if the recovery half of the equation is respected. Increasing load creates the stimulus — recovery is where the adaptation actually happens. Push the stimulus too hard without adequate recovery and you accumulate fatigue faster than your body can rebuild, which leads to diminishing returns at best and overtraining at worst.
For cyclists, this balance is particularly delicate because your strength sessions exist alongside riding volume. A heavy lower body session two days before a high-intensity interval ride on the bike is a recipe for compromised performance on both ends. Periodizing your strength work relative to your cycling schedule — placing the hardest gym sessions in the lowest cycling volume days, and backing off load during peak riding weeks — is essential.
Recovery isn’t just about sleep, though sleep quality matters enormously for muscle protein synthesis. Nutrition timing, specifically consuming adequate protein within a few hours of your strength sessions, significantly affects how completely your body rebuilds between sessions. Hydration, stress levels, and total training load all feed into your recovery capacity. As you increase load in the app, pay attention to how you feel on the bike in the 48 hours following a strength session — that’s your most honest feedback signal.
Safety First: Maintaining Form as Intensity Rises
The most dangerous moment in progressive overload is the session after you’ve made a significant jump in load. The weight feels heavier, the movement pattern feels less automatic, and the temptation is to compensate with momentum, reduced range of motion, or by letting the stronger muscle groups dominate the weaker ones. This is where most training injuries originate.
The non-negotiable rule is that form governs load, not the other way around. If a heavier weight forces you to round your lower back in a deadlift, shorten your range in a squat, or lose hip alignment in a lunge, you haven’t progressed — you’ve just increased injury risk while training a compensation pattern that will express itself poorly on the bike.
For cyclists specifically, watch for these form red flags as intensity rises: the knees caving inward during any squat pattern (a sign of underactive glutes), anterior pelvic tilt increasing under heavy hip hinge loads (a sign of core failing to stabilize), and the torso leaning excessively forward in split squats (usually hip flexor tightness limiting posterior chain recruitment). Film yourself periodically. What you feel and what you’re actually doing are often meaningfully different, and catching a form breakdown early is far less costly than working around an injury.
Translating Gym Gains into Power on the Pedals
The transfer from gym strength to on-bike power isn’t automatic — it requires intentional bridge work. A cyclist who squats 150kg but never trains single-leg stability, explosive hip extension, or neuromuscular coordination specific to pedaling mechanics may not experience a meaningful power improvement despite impressive gym numbers.
The translation happens most effectively when your strength training emphasizes movements that mirror the cycling-specific force application pattern. Single-leg exercises like Bulgarian split squats, step-ups, and single-leg Romanian deadlifts train unilateral force production that maps directly to each pedal stroke. Hip hinge patterns build posterior chain power that transfers to out-of-saddle climbing and sprinting. And explosive variations — jump squats, trap bar jumps, or loaded step-up drives — train the rate of force development that determines how quickly you can accelerate.
You’ll typically notice the transfer beginning to appear around six to eight weeks into consistent progressive overload training. Climbing feels less like a grind and more like a push. Your sprint opens up with less perceived effort. Long rides fatigue your legs more slowly because your working muscles are a smaller percentage of your total capacity. The gym work has raised your ceiling, and the bike is where you spend it.
Bringing It All Together
Every principle covered here is built into the structure of the Strength Builder and Target Muscle Builder apps. The app’s exercise database is organized around the movement patterns that matter most for cycling performance — posterior chain development, single-leg stability, hip hinge mechanics, and functional core strength — so you’re never programming blind or borrowing generic gym templates that weren’t designed with a cyclist’s needs in mind.
The history and tracking features make progressive overload visible and intentional rather than approximate. You’ll know exactly when you’ve earned a weight increase, when you’ve hit a plateau worth addressing, and how your strength numbers trend across a training season. The built-in periodization structure accounts for your riding schedule, placing appropriate load in appropriate weeks so your gym work enhances your cycling rather than competing with it.
The bottom line is this: progressive overload is the mechanism, but consistency and data are what make it work over time. The app handles the tracking and the programming logic so you can focus on the training itself. Head over to pedalmyway.com, load up the strength app, establish your baseline this week, and start building the muscular foundation that your cycling has been missing.
Related Cycling and Training Content
- Cycling Cadence
- Indoor Cycling for Winter Fitness
- Cross-Training Activities for Cyclists During the Off Season
For further cycling and training tips, you can also listen to the Ask The Pedalist podcast, where we discuss common cycling topics.
PEDAL MY WAY NEWSLETTER
Weekly training tips, cycling strategies, and fitness insights for sustainable performance.
No spam—just actionable guidance to help you train smarter.