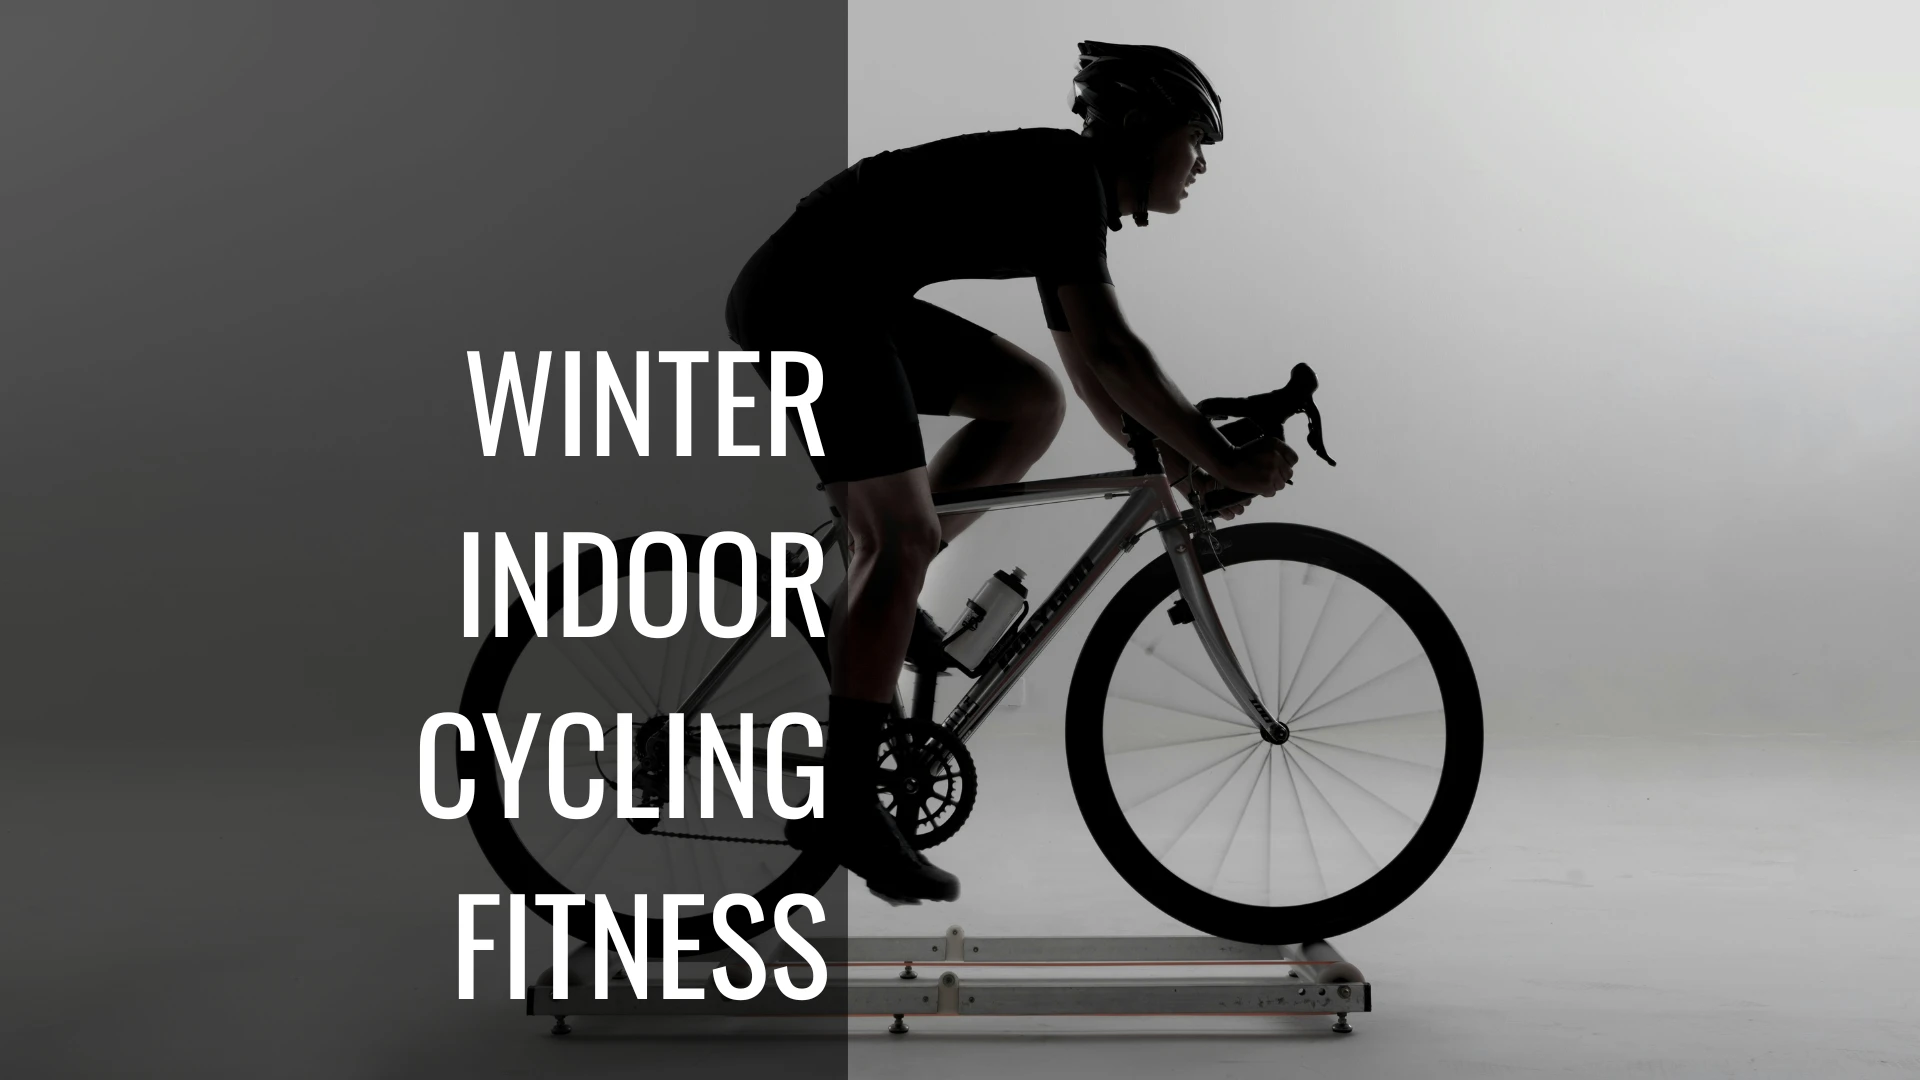
When temperatures drop and daylight shrinks, many cyclists reluctantly retreat to indoors, viewing winter indoor cycling training as a necessary compromise—a way to simply maintain fitness until spring returns. But serious cyclists have discovered that indoor training during the colder months isn’t just damage control, it’s your competitive advantage. Without weather variables, traffic interruptions, or unpredictable road conditions, winter becomes the perfect laboratory for focused, structured training that delivers measurable gains. While fair-weather riders are losing fitness on the couch, you’ll be building power, refining your aerobic engine, and emerging in spring stronger than you’ve ever been. The trainer isn’t a prison sentence—it’s a precision tool that transforms cold, dark months into your most productive training season of the year.
This comprehensive guide will walk you through everything you need to conquer the cold—from setting up a motivating pain cave and choosing the right gear to mastering effective interval workouts and staying mentally engaged for those long, dark-season miles.
PEDAL MY WAY NEWSLETTER
Weekly training tips, cycling strategies, and fitness insights for sustainable performance.
No spam—just actionable guidance to help you train smarter.
Table of Contents
Setting Up Your Indoor Training Space for Maximum Motivation
Transforming a corner of your home into a dedicated cycling sanctuary is key to staying motivated when the weather turns. Your indoor training space should be a sanctuary that pulls you in rather than a corner you dread. Think beyond just the bike. Choose a room with good natural light if possible, or invest in bright, adjustable lighting to combat the cave-like feeling. Position your bike facing a window or an inspiring view rather than a blank wall. Keep the space organized with storage and easy access to towels, water bottles, and tools. Consider adding a fan (or two) directly in front of you, a small table for devices and nutrition, and perhaps a motivational poster or your race photos. The key is making the space feel like a performance zone, not a punishment cell.
Smart Trainer vs. Rollers vs. Stationary Bike - Choosing Your Equipment
Smart Trainers are the gold standard for serious cyclists. These are arguably the most popular choice for serious cyclists. Your own bike attaches to the trainer, and it provides variable resistance that can be controlled by apps like Zwift or TrainerRoad, simulating hills and drafting. They offer a realistic road feel, precise power measurement, and immersive virtual experiences. Brands like Wahoo KICKR and Tacit NEO create an immersive experience that responds to virtual courses. The downside is that they’re expensive, in the $500-$1,500+price range, and require you to mount your actual bike.
Rollers force you to maintain balance and develop smooth pedaling technique. Your bike sits freely on three rotating cylinders, requiring balance and core engagement. They’re great for developing a smooth pedal stroke and are often more portable. However, they don’t provide resistance adjustment, or power measurement as easily as smart trainers, and can feel sketchy for beginners, and don’t integrate with virtual platforms. They’re best as a supplementary tool for technique work.
Stationary Bikes like Peloton or basic spin bikes are convenient and don’t require removing wheels or adjusting your road bike. These are self-contained units, often found in gyms. They are generally robust, require no setup with your own bike, and are excellent for high-intensity workouts. They’re stable and often come with built-in screens. Their limitations are that they don’t replicate your actual bike’s geometry and position, may lack accurate power measurement, and can feel disconnected from real cycling. They also typically don’t provide the same level of immersive simulation or detailed power data feedback as a smart trainer with virtual platforms.
If you’re serious about maintaining or building fitness for outdoor cycling, invest in a smart trainer. If budget is tight, a basic magnetic trainer with resistance levels can still deliver solid workouts. Check out this post on indoor trainer that I have been using.
Interval Training on the Trainer: HIIT Workouts That Deliver Results
The trainer is perfectly suited for high-intensity interval training. High-Intensity Interval Training (HIIT) on the trainer is particularly effective because you can precisely control your effort and recovery.
There are numerous training plans for indoor trainers. Here are three proven protocols, and I mix them into my winter training:
Tabata Intervals (20 minutes total): 8 sets of 20 seconds all-out effort, 10 seconds recovery. Repeat for 4 rounds with 2 minutes between rounds. This burns through glycogen and builds VO2 max capacity.
4×4 Intervals (30 minutes): Four intervals of 4 minutes at 90-95% max heart rate with 3 minutes active recovery between. This targets the top end of your aerobic capacity.
Pyramid Sets (45 minutes): Build up and down: 1 min hard/1 min easy, 2/2, 3/3, 4/4, then back down. The varying interval lengths prevent mental fatigue while still delivering serious training stimulus.
But before any high intensity workouts, take time for warm-up and cool-downs. Sample plan below –
Warm-up: 10-15 minutes easy spinning.
Main Set: Alternate between periods of high-intensity effort (e.g., 1-3 minutes at near-maximal effort, pushing your breathing and heart rate significantly) and recovery periods (e.g., 1-2 minutes of easy spinning to bring your heart rate down). Repeat this cycle 4-8 times.
Cool-down: 10-15 minutes easy spinning.
A smart trainer is ideal because platforms like Zwift or TrainerRoad can guide you through pre-designed HIIT workouts, adjusting the resistance automatically to match the prescribed power zones. These workouts are time-efficient and excellent for improving VO2 max and anaerobic capacity.
Sweet Spot Training: Building Power Without Burning Out
Sweet Spot training is about maximizing gains in Functional Threshold Power (FTP) with a sustainable amount of effort. It is between tempo and threshold—roughly 88-93% of your FTP. This intensity is challenging but not so high that it creates excessive fatigue that you need days to recover, allowing for more consistent training weeks.
The magic of sweet spot is volume without destruction. You can do these workouts 2-3 times per week and still recover properly. Over 8-12 weeks, sweet spot training builds remarkable aerobic endurance and raises your FTP without the mental and physical toll of constant threshold or VO2 max work.
- Why it works: It stimulates physiological adaptations similar to threshold training but with less accumulated stress, meaning you can do more of it.
- Typical session: After a warm-up, do 2-3 intervals of 15-20 minutes at Sweet Spot intensity, with 5 minutes of easy spinning in between. Finish with a cool-down.
A classic sweet spot workout: 3×20 minutes at 88-92% FTP with 5 minutes easy spinning between intervals. Or try 2×30 minutes for a longer sustained effort. These sessions should feel “comfortably uncomfortable”—you can maintain the effort, but you’ll be ready for it to end.
Sweet Spot training is fantastic for building a strong aerobic engine and increasing your sustained power output without the burnout often associated with constantly pushing into redline zones.
Virtual Cycling Platforms: Zwift, TrainerRoad, and Rouvy Compared
Zwift is the most popular virtual cycling platform for good reason. It is known for its immersive virtual worlds and gamifies indoor training with vibrant 3D worlds, group rides, races, and structured workouts. Its group rides, races, and a social component that makes suffering feel communal. You see yourself as an avatar cycling through Watopia, London, or other virtual locations. The platform adjusts resistance based on virtual terrain and includes structured workouts.
Best for: cyclists who need visual engagement and social motivation. Monthly cost: ~$15.
TrainerRoad is the no-nonsense option focused purely on structured training plans. There are no fancy graphics—just your power curve, workout intervals, and detailed metrics. It offers science-based training plans that adapt to your schedule and progress. It’s highly effective for targeted fitness gains.The podcast and blog content about training methodology is exceptional.
Best for: data-driven athletes focused on performance gains over entertainment. Monthly cost: ~$20.
Rouvy offers a unique augmented reality experience, overlaying your avatar onto real-world video routes. You ride actual GPS-tracked routes with video footage of scenic roads from around the globe without leaving your home, and the resistance matches the terrain. It includes structured workouts but emphasizes the experience of “riding” famous climbs or scenic routes.
Best for: cyclists who want structured training but crave real-world connection and route variety. Monthly cost: ~$12.
Each platform caters to slightly different preferences, so trying out free trials is a great way to find your perfect match.
Beating Boredom: How to Stay Engaged During Long Indoor Rides
Mental engagement is often harder than physical effort on long indoor rides. Here’s your arsenal against boredom:
- Structured Workouts: Following a workout plan provides a clear goal for each segment, making the time pass more quickly.
- Mix up your content: Alternate between structured workouts, group rides, races, and free rides. Monotony kills motivation.
- Strategic entertainment: Save a favorite podcast or show exclusively for trainer rides. Match content length to workout duration. Educational content (audiobooks, documentaries) can make time fly. Or catch up on your favorite TV shows or movies.
- Music strategy: Create interval-specific playlists. High-BPM tracks for hard efforts, mellower tunes for recovery or endurance pace.
- Virtual races and group rides: Schedule at least one social or competitive ride per week. The accountability and competition override boredom. Platforms like Zwift are designed to combat boredom with their engaging environments and social interaction.
- Change positions frequently: Shift from hoods to drops to tops every 5-10 minutes during steady rides. Stand up periodically if your trainer allows.
- Break it into chunks: Instead of thinking “90-minute ride,” think “six 15-minute segments.” Mental reframing makes duration manageable. Plan for short breaks to stretch, refill bottles, or simply mentally reset if you’re doing a very long session.
- Focus on Technique: Use the time to really concentrate on your pedal stroke, core engagement, and breathing.
- Challenge Yourself: Set personal bests for segments, try to beat your previous efforts, or join an online race.
Creating a Weekly Indoor Training Schedule That Works
Consistency is key. A balanced weekly schedule should incorporate a mix of intensities and adequate recovery. Here’s a sample template, but remember to adapt it to your own fitness level, goals, and available time:
- Monday: Recovery ride or rest (30 minutes easy if riding)
- Tuesday: Interval session – HIIT or VO2 max work (60 minutes)
- Wednesday: Sweet spot or tempo (75-90 minutes)
- Thursday: Recovery ride or cross-training (30-45 minutes easy)
- Friday: Rest or very easy spin (30 minutes)
- Saturday: Long endurance ride (90-150 minutes at Zone 2)
- Sunday: Rest or active recovery
Key principles: Never schedule hard efforts on consecutive days. Include at least one true rest day. The long weekend ride builds aerobic base. Tuesday and Wednesday are your high-value training days. Adjust volume based on your available time and fitness level—it’s better to complete a shorter, consistent schedule than to plan big and fail repeatedly.
Always remember to listen to your body, and don’t be afraid to adjust if you’re feeling overly fatigued.
Recovery Rides Indoors: Why Easy Days Still Matter
It’s tempting to push hard every time you hop on the bike, but recovery rides are crucial for improvement. These are short, low-intensity rides (Zone 1-2, very easy spinning) designed to:
- Promote Blood Flow: Helps flush out metabolic waste products from your muscles.
- Aid Muscle Repair: Supports the recovery process without adding significant stress.
- Reduce Fatigue: Allows your body to recuperate and prepare for harder efforts.
- Maintain Consistency: Keeps you in the routine of riding, even on days when you’re not going for a PR.
The challenge indoors is resisting the temptation to push harder. Without scenery or destination, many cyclists unconsciously drift into Zone 3—too hard for recovery, too easy for training benefit. Use heart rate or power to enforce discipline. Set your trainer to erg mode at 50% FTP if needed.
Recovery rides should feel almost ridiculously easy. If you couldn’t hold a conversation, you’re going too hard. Duration matters more than intensity: 30-45 minutes of true easy spinning beats 20 minutes of moderate effort. Think of recovery rides as investment in tomorrow’s hard workout, not wasted time.
Don’t skip your easy days – they are an integral part of building sustainable fitness.
Measuring Progress: Using FTP Tests and Power Metrics
Functional Threshold Power (FTP) represents the maximum wattage you can sustain for approximately one hour. It’s the cornerstone metric for structured training, establishing your training zones and measuring improvement.
Testing FTP: The 20-minute test is standard. After a thorough warmup, ride all-out for 20 minutes at maximum sustainable effort. Your average power for those 20 minutes multiplied by 0.95 estimates your FTP. Test every 6-8 weeks to adjust training zones. Alternatively, use ramp tests (available on Zwift and TrainerRoad) for a shorter, structured assessment.
Key metrics to track:
- Watts per kilogram (W/kg): Your power-to-weight ratio determines climbing ability
- Normalized Power (NP): Accounts for variability in efforts
- Training Stress Score (TSS): Quantifies workout difficulty
- Power curve: Shows your best efforts across all durations (5 sec, 1 min, 5 min, 20 min, etc.)
Beyond FTP, pay attention to metrics like average power, normalized power (NP), and variability index (VI) for your rides. Tracking your power output over time for specific intervals or routes can show concrete improvements. Use platforms like Strava and TrainingPeaks to log your rides, analyze data, and observe your trends over weeks and months. Seeing those numbers go up is a huge motivator!
Watch for trends over weeks and months, not day-to-day fluctuations. A 5-10 watt FTP gain over 8 weeks represents meaningful improvement. Power data removes guesswork and emotion, showing exactly whether your training works.
Ventilation and Hydration: Indoor Cycling Essentials
Indoor cycling generates more heat stress than outdoor riding because you lack cooling airflow. Address this or suffer through miserable, performance-limiting sessions. This along with proper hydration, are often-overlooked factors can make or break your indoor cycling experience.
Ventilation: You will sweat a lot more indoors than outdoors due to the lack of airflow. One fan isn’t enough—use two. Position a powerful floor fan directly in front of you (industrial fans work better than household models). If possible, add a second fan aimed at your side or back. Open windows even in cold weather; the fresh air exchange matters as much as temperature. You want aggressive airflow, not gentle breeze. Overheating leads to decreased performance and can be dangerous.
Hydration: Just as with ventilation, indoor cycling significantly increases fluid loss – you’ll lose 1-2 liters per hour indoors versus 500ml-1L outdoors. Use two water bottles minimum, within easy reach. For intensive sessions or those lasting over 60 minutes, use an electrolyte mix—indoor sweat loss depletes sodium rapidly. Consider a sweat rate test: weigh yourself before and after a one-hour ride to calculate your specific fluid loss. Also, start hydrating before your ride, drink consistently throughout, and continue post-ride. Don’t underestimate how much fluid you’ll need!
Bonus tip: Place a mat under your trainer to protect floors from sweat and reduce noise. Drape a towel over your handlebars and another on the floor to protect your equipment from corrosive sweat. Keep your bike’s drive train clean—indoor training without road grit doesn’t clean your chain naturally, and sweat accelerates corrosion.
Winter Training, Spring Domination
The cold months no longer mean sacrificing your cycling fitness. Indoor training offers something outdoor riding rarely can: complete control over your training stimulus, precise measurement of progress, and the ability to execute workouts exactly as designed. Yes, it requires mental discipline and a different kind of toughness than battling headwinds, but the payoff is undeniable. By focusing on your setup, integrating structured workouts like Sweet Spot and HIIT, embracing the fun of virtual racing, and prioritizing the essentials of ventilation and recovery, you can emerge from winter stronger and faster than ever
So set up your space, choose your equipment, download your platform of choice, and reframe how you think about these colder months. This isn’t the off-season. This is when champions are built, one disciplined interval at a time. When spring arrives and you’re dropping riders on climbs you used to struggle with, you’ll thank yourself for embracing the trainer when others made excuses.
Happy Training!


