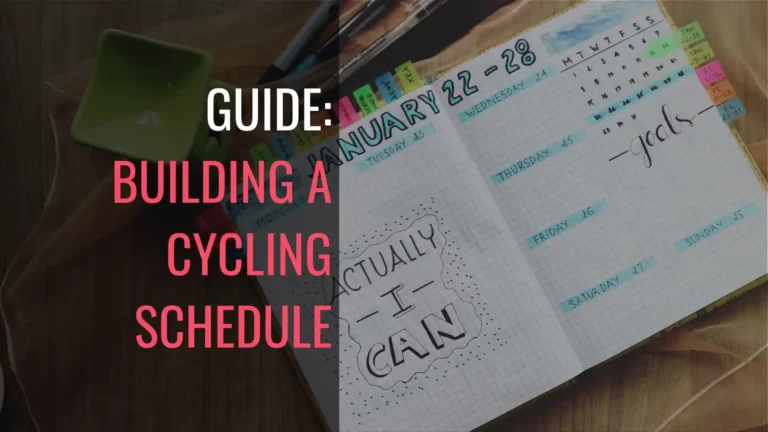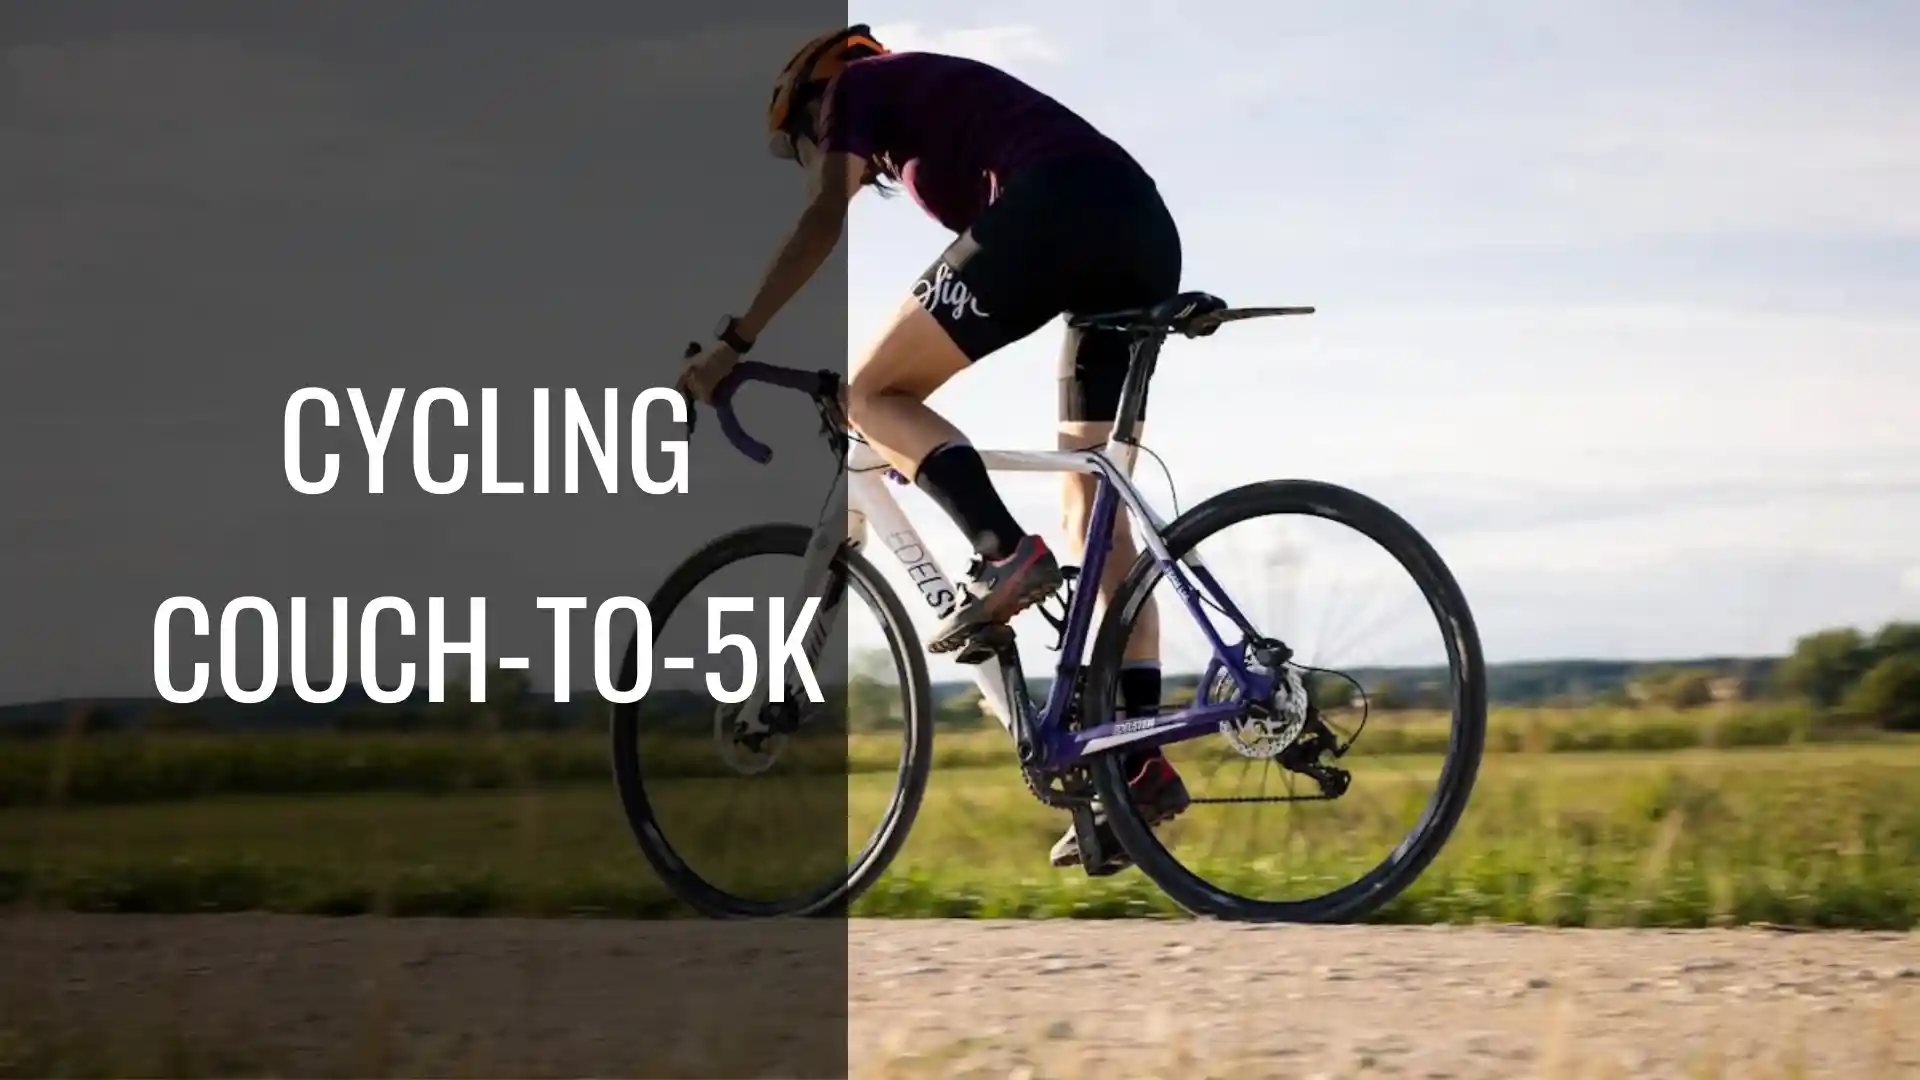
If you’ve ever looked at a Couch to 5K running plan and thought, “I wish there were something like this for biking”. Well, good news: there is! Whether you’re recovering from inactivity, new to fitness, or simply looking for a fun and low-impact way to get moving, cycling offers the perfect starting point.
The biking equivalent of Couch to 5K is often called a Couch to 25 Miles (C25M) or Couch to 20K cycling program. Just like Couch to 5K gradually builds your endurance on foot, a structured Couch to 25 Miles (C25M) plan can take you from zero to confidently riding longer distances in just a few weeks.
In this blog post, we will provide a guided approach to help you go from your couch to 25 miles!
PEDAL MY WAY NEWSLETTER
Weekly training tips, cycling strategies, and fitness insights for sustainable performance.
No spam—just actionable guidance to help you train smarter.
Table of Contents
How long does it take to go from no cycling experience to riding 25 miles?
The time it takes to progress from no cycling experience to riding 25 miles depends on various factors, such as individual fitness levels, training consistency, and personal dedication. On average, it can take anywhere from a few weeks to a couple of months to build up the endurance and skills required to ride 25 miles. However, this can vary significantly from person to person. The main thing to build physically is getting used to the cycling posture, the repetitive pedal strokes, lower back strength to power the legs, and upper body strength to maintain stability, especially the shoulders. Mentally, one should also be able to power through the grueling effort needed to stay more than 30 minutes on the bike.
So more time spent on the bike and gradually increasing mileage during training is key to build these physical and mental strength to last 25 miles.
Starting with regular training of 3–4 days/week is typically enough for a beginner to comfortably ride 25 miles in one go in a few weeks.
What's a realistic first-week cycling schedule for complete beginners?
Here’s a first-week cycling schedule for someone with no prior cycling experience, aimed at building comfort, endurance, and confidence:
Week 1 Beginner Cycling Schedule
| Day | Plan | Focus |
|---|---|---|
| Monday | Get Used to the Bike (if you are new) | Practice getting on and off the bike, adjusting seat height, and familiarizing yourself with the bike’s components and functions. Ride at a comfortable pace in a safe, flat area to practice balance, steering, and braking. |
| Tuesday | Ride 3 miles or for 20 mins in a flat terrain | Ride at a comfortable pace on a flat route, focusing on maintaining balance and control. |
| Wednesday | Rest | Optional stretching or core work. Light stretching or other gentle activities to promote recovery. |
| Thursday | Ride 3-4 miles or for about 30 mins at an easy pace | Ride at a comfortable but a little challenging pace on a flat or slightly varied terrain, practicing gear shifting and maintaining control. |
| Friday | Rest | Hydration and light mobility work |
| Saturday | Try to aim for 5 miles or for about 40 mins | Try a hill with an incline or varied terrain. The goal is for you to build endurance and get used to staying on the bike for longer time. |
| Sunday | Rest or 20–30 min walk | Let your body recover. Drink plenty of water and do stretches. |
This schedule can serve as a foundation for your first week of cycling. As you progress, gradually increase ride duration, intensity, and route complexity according to your comfort and fitness level. Remember to listen to your body, prioritize rest, and have fun along the way!
Key Items:
Pace: Go easy—don’t worry about speed. Just ride without overexertion.
Time on Bike: Expect ~20–45 minutes per ride.
Cadence: Pedal in a light gear; don’t push too hard.
Fuel: Drink water before and after rides. Small snack if needed (banana, granola bar).
Comfort: Use padded shorts, gloves, and a properly adjusted seat height.
Safety: Always wear a helmet and ride in low-traffic areas or on bike paths.
Do I need an expensive bike to start a couch to 5K cycling program?
- Entry-level bikes are more than capable: Modern entry-level bikes are well-equipped to handle the demands of beginner cyclists, and they offer excellent value for their price.
- Comfort is key: When starting a cycling program, comfort should be your top priority. Investing in a bike that fits you properly and is comfortable to ride will make your cycling experience more enjoyable. You’ll find the posts on the importance of bike ergonomics and finding the right bike fit useful.
- Upgrades can come later: As you progress in your cycling journey, you can always consider upgrading your bike or its components to suit your evolving needs and preferences.
- Avoid unnecessary buying pressure: Starting with an expensive bike may add unnecessary pressure or stress, especially if you’re new to cycling. Focus on developing your skills and enjoying the ride instead.
- Set a budget: Determine how much you’re willing to spend on a bike. This will help you narrow down your options and make the selection process more manageable.
- Prioritize durability: Look for bikes made with quality materials that can withstand regular use and last for years. Steel, aluminum, and carbon are common frame materials that offer durability at various price points.
- Consider secondhand options: Buying a used bike can be a great way to save money while still getting a reliable and functional bicycle. Be sure to thoroughly inspect the bike and its components before purchasing. A Guide to Buying Used Bike is a good source of information on what to watch our for when buying bikes used. Bicycling Blue Book is a good starting point for your used bike search.
- Choose a suitable bike type: Depending on your goals and preferences, select a bike type that suits your needs. There are beginner-friendly options for all riding styles such as mountain, road and gravel biking. Use our bike finder tool to help you find a bike suitable to your needs.
- Test ride: Whenever possible, always take the bike for a test ride to get a feel for its comfort, handling, and overall performance. This will help you make a more informed decision.
- Consult a local bike shop: Local bike shops can offer expert advice on selecting an affordable and reliable bike for your couch-to-cycling program. They may also have deals or trade-in programs available if you have an old bike you would like to replace.
- Research online: Read reviews, compare prices, and research different brands and models to make an informed decision about the best bike for your needs and budget.
A quick checklist on what is important when you are buying a bike –
| Feature | What to Look For |
|---|---|
| Bike Type | There are great starters bikes in all styles, such as road, mountain, gravel. Narrow down your preferred riding style. Mountain bikes seem to be the most beginner-friendly bike. |
| Fit & Comfort | Frame should match your height; saddle should feel tolerable. This is a good guide on bike fit. |
| Gears | At least 7 speeds for casual rides and small hills |
| Tires | Wider tires (35mm–50mm) offer more stability and comfort. Road bikes have thinner tires as they are designed for speed. Mountain bike tires are thicker to handle rocks, roots and rough terrain. |
| Brakes | Rim or disc brakes—either is fine if they work reliably |
What’s a Reasonable Budget?
Used bike: $100–300 (local shop, Facebook Marketplace, Craigslist. Use Bicycle Blue Book to get a feel for the pricing)
New entry-level bike: $300–600 (brands like Trek FX, Giant Escape, Co-op CTY, or Decathlon Riverside)
E-bike (if needed): $1,000+ (Aventon, Ride1Up, or Lectric for budget-friendly models)
What to Focus On
Helmet and lights (non-negotiable for safety)
Basic tune-up if buying used
Comfort upgrades like a gel seat or padded shorts. Use our bike size estimator to find the size most suitable for you.
What to Avoid
Big-box store bikes under $200 (often poor quality/durability)
Over-investing until you’re sure you’ll ride consistently
How do I know if I'm pushing too hard too fast in my training?
- Unusual fatigue: If you’re feeling excessively tired or drained after your rides, or even throughout the day, you may be overtraining.
- Decreased performance: Experiencing a decline in your cycling performance, such as slower speeds or struggling on routes that were previously manageable, can indicate overtraining.
- Increased muscle soreness: While some muscle soreness is normal after exercise, excessive soreness that persists for days or worsens over time may suggest you’re pushing too hard.
- Frequent illness or injury: Overtraining can weaken your immune system, making you more susceptible to illness. Additionally, an increased rate of injuries could signal that you’re pushing beyond your body’s limits.
- Changes in appetite or sleep patterns: Both increased and decreased appetite can indicate overtraining, as can disrupted sleep patterns or insomnia.
Physical Signs
| Symptom | What It Means |
|---|---|
| Excessive soreness (>2–3 days) | You’re not recovering fully between rides |
| Joint pain (knees, hips, wrists) | Bike fit or intensity may be off |
| Fatigue all day (not just post-ride) | Overreaching or inadequate rest |
| Poor sleep or appetite | Stress from training overload |
| Elevated resting heart rate | Body isn’t recovering properly |
Mental/Emotional Signs
| Symptom | What It Means |
|---|---|
| Dreading your next ride | Early signs of burnout |
| Irritability or low mood | Mental fatigue from doing too much |
| Loss of motivation | Pushing too hard can kill enjoyment |
How to Stay in the Safe Zone
- “Talk Test”: If you can speak in short sentences while riding, you’re training at a sustainable pace. If you’re gasping for breath—you’re going too hard.
- 10% Rule: Don’t increase your weekly mileage or ride duration by more than 10% per week.
- Track Rest Days: You should have at least 2 full rest days per week in the first few weeks.
- Watch Your Recovery: After a ride, you should feel tired but refreshed, not totally wiped out.
- Adjust If Needed:
- Cut a ride short or skip a day if you’re drained
- Go for a walk or do light yoga/stretching on a “missed” day
- Remember: Consistency beats intensity early on
What should I do on rest days during my cycling training program?
To make the most of your rest days during a cycling training program, consider incorporating the following activities:
Full Rest (Complete Day Off)
Best for: Beginners, after a longer ride, or if you’re feeling tired/sore.
Prioritize sleep and hydration
No structured activity—maybe just light walking
Great for mental reset and preventing overtraining
Active Recovery (Very Light Movement)
Best for: Keeping blood flowing and preventing stiffness.
| Activity | Duration | Intensity |
|---|---|---|
| Walk | 20–30 minutes | Easy pace |
| Yoga/stretching | 20–30 minutes | Gentle, focus on hips, quads, lower back |
| Light mobility or foam rolling | 10–15 minutes | Focus on legs and glutes |
| Casual cycling | 15–20 minutes | Super easy, flat path, no goal pace |
Recovery Boosters
| Area | What You Can Do |
|---|---|
| Nutrition | Eat protein + carbs to support muscle repair |
| Hydration | Aim for steady water intake throughout the day |
| Mental | Review your progress, set small goals, celebrate wins |
| Gear | Check your bike (tires, brakes, chain) and clean if needed |
Don’t on Rest Days
Intense workouts
Long hikes or physically demanding activities
Overthinking progress—rest days are for resetting, not self-judging
How many days per week should beginners cycle?
As you become more comfortable and build your endurance, you can gradually increase the number of cycling sessions per week. A general guideline for progression might look like this:
- First 4 weeks: Start with 2 to 3 cycling sessions per week, with at least one rest day between each session.
- Next 4 weeks: Increase to 3 to 4 cycling sessions per week, ensuring you still have at least one rest day between most sessions.
- Beyond 8 weeks: If you feel comfortable and well-adapted to the increased frequency, you can consider adding a fifth cycling session per week, keeping at least one rest day per week for recovery.
Recommended Cycling Frequency for Beginners
| Days/Week | Who It’s For | Benefits |
|---|---|---|
| 2 days | Very new, limited time or low fitness | Eases you in without overwhelming |
| 3 days | Ideal for most beginners | Builds consistency + recovery balance |
| 4 days | For quick progress if you feel good | Increases stamina and confidence faster |
| 5+ days | Not recommended at first | High risk of fatigue, unless some rides are very easy |
Always Remember
Quality > Quantity: It’s better to do 3 consistent, enjoyable rides than force daily workouts.
Adapt as you go: If you’re not sore and feel energized, you can add a 4th ride.
Listen to your body: If fatigue sets in, drop back to 2 rides that week.

What's the difference between this program and just riding whenever I feel like it?
While simply riding whenever you feel like it can still provide some benefits, following a structured cycling training program offers several advantages:
- Progression: A structured program allows for gradual and consistent progression in your cycling ability, helping you to build endurance, strength, and speed over time.
- Goal Oriented: A training program can be tailored to your specific goals, whether that’s improving your overall fitness, training for a specific event, or developing specific cycling skills.
- Variety: A cycling program will typically incorporate different types of rides, such as long-distance rides, hill climbs, and interval training, which can help keep your workouts interesting and engaging.
- Accountability and motivation: Following a structured program can help keep you accountable and motivated, especially if you have a coach or training partner to support you.
- Preventing overtraining and injury: A well-designed cycling program will include rest days and active recovery, which can help prevent overtraining and reduce the risk of injury.
- Long Term Success: A structured program helps you reach specific milestones (such as cycling for 25 miles), which might not be easy to attain when cycling whenever you feel like it.
Can I do couch-to-cycling if I have knee problems or other physical limitations?
While a cycling training program can be a great low-impact exercise option for people with certain physical limitations, including knee problems, it’s essential to consult with your healthcare provider or a physical therapist before starting any new exercise routine. They can evaluate your specific situation and provide guidance on how to modify the program to meet your needs and ensure your safety.
Here are some tips that may help if you have knee problems or other physical limitations:
- Start slowly: Begin with shorter rides at a comfortable intensity and gradually increase the duration and intensity over time, as recommended by your healthcare provider.
- Adjust your bike fit: Make sure your bike is adjusted correctly for your body, including seat height and position, handlebar height, and pedal alignment. A professional bike fitting can help ensure that your bike is properly adjusted, reducing the risk of injury and discomfort.
- Strengthen supporting muscles: Engage in strength training exercises that target the muscles supporting your knees, such as your quadriceps, hamstrings, and hip abductors. Stronger muscles can help improve stability and reduce the load on your joints.
- Focus on proper technique: Maintaining good cycling form can help prevent additional strain on your knees and other joints. This includes pedaling in smooth circles, keeping your knees slightly bent, and maintaining a neutral spine position.
- Cross-train: Incorporating other low-impact exercises, such as swimming or elliptical training, can help you maintain cardiovascular fitness while reducing the stress on your knees and other joints.
- Manage your pain: If you experience pain during or after cycling, consider using ice packs, heat therapy, or over-the-counter anti-inflammatory medication, as recommended by your healthcare provider.
- Warm-up and cool-down: Start each cycling session with a low-impact warm-up, such as light stretching or a slow, easy ride for 5-10 minutes. Similarly, end your session with a cool-down period, gradually reducing your intensity and allowing your heart rate to return to normal.
General Advice
Get medical clearance first if you have significant health issues
Consider a bike fitting (even basic adjustments) to prevent strain
Start with indoor cycling if that feels safer or more controlled
Use an e-bike if hills or longer distances would otherwise be a barrier
How do I stay motivated when progress feels slow?
Feeling like progress is slow is super common—especially in the early weeks of any new fitness journey. But staying motivated is totally doable if you use the right mindset and strategies.
- Set realistic expectations: Understand that progress in cycling, especially for beginners, can be gradual. Try to set goals you can do for that training day. Setting a 20 mile ride the second day is rarely accomplished without issues for someone new to cycling. So take a step back and evaluate what you are trying to do.
- Track your progress: Keep a record of your rides, including distance, time, and how you feel before, during, and after each ride. This can help you see your progress over time and identify areas where you need to improve.
- Find a training buddy or group: Training with others can provide accountability, encouragement, and a sense of camaraderie. Consider joining a cycling club or finding a friend to ride with.
- Set short-term and long-term goals: Establish realistic, achievable goals for both the short and long term. Achieving smaller, short-term goals can help keep you motivated as you work towards your larger, long-term goals.
- Mix up your routine: Vary your cycling workouts by incorporating different types of rides, such as long-distance rides, hill climbs, and interval training. This can help prevent boredom and keep your training engaging.
- Reward Yourself: Celebrate small victories. If you met the goals for that particular training day, treat yourself to an extra helping of pie, or watch a movie – anything you find rewarding. These small victories sets your mind get more confidence and satisfaction to reach your long-term goal.
Remember that slow progress is still progress. And slow progress sticks better than fast burnout.
What distance should I aim for in my first month of cycling?
For your first month of cycling as a complete beginner, aiming for a gradual build-up in distance is key to avoid burnout or injury while building confidence and endurance. In your first month of cycling, aim for a distance that is both challenging and manageable. A good starting point is to gradually increase your weekly mileage, with an average of 15-30 miles (24-48 kilometers) per week.
Here’s a sample 4-week progression plan:
| Week | Ride Frequency | Typical Distance per Ride | Weekly Total Distance |
|---|---|---|---|
| 1 | 3 rides | 3 miles | ~9 miles |
| 2 | 3 rides | 4 miles | ~12 miles |
| 3 | 3 rides | 5 miles | ~15 miles |
| 4 | 3 rides | 6 miles | ~18 miles |
Remember:
- Start with easy, flat routes.
Keep your pace comfortable—conversational pace.
Take rest days between rides.
Listen to your body: if you feel too tired or sore, don’t hesitate to repeat a week or take an extra rest day.
If you feel good, a slightly longer weekend ride (7–8 miles) can be a great confidence boost.
Should I focus on distance or time when starting out?
- Adaptation: By increasing the time spent on the bike, you allow your body to gradually adapt to the demands of cycling, reducing the risk of injury and overtraining.
- Pacing: Focusing on time rather than distance encourages you to ride at a sustainable pace, which is essential for building endurance and avoiding early fatigue.
- Consistency: Setting a time goal makes it easier to maintain consistency in your training, as you can adjust your route, speed, and effort level to meet your time target, regardless of the distance covered.
- Measurable progress: Tracking the time spent cycling allows you to easily measure your progress over time and adjust your training plan accordingly.
When to Focus More on Distance:
When you want to train for a specific event (like a 25-mile ride)
Once you have a solid base of endurance and comfort
When you want to challenge yourself to go farther at the same or better pace
Once you’ve established a solid endurance base, you can then shift your focus to covering longer distances or tackling more challenging rides. Start with time, and then add distance goals as you get comfortable. This keeps it fun, flexible, and manageable.
How do I handle soreness and fatigue as a new cyclist?
Common Causes of Soreness & Fatigue:
- Muscles adapting to new movement patterns
- Using muscles you haven’t used much before (quads, glutes, calves)
- Overdoing it on distance, intensity, or frequency early on
How to Manage & Prevent It
- Gradual progression: Increase your mileage and intensity gradually, allowing your body time to adapt to the demands of cycling. This can help minimize soreness and fatigue.
- Rest & Recovery: Take at least 1–2 full rest days per week. Get good quality sleep (7–9 hours) to help muscles repair. Avoid pushing through sharp or persistent pain
- Active Recovery: Gentle walking or easy cycling on rest days helps blood flow Light stretching or yoga focusing on legs and lower back
- Hydration & Nutrition: Drink plenty of water before, during, and after rides. Eat balanced meals with protein + carbs to repair muscle tissue
- Warm-Up & Cool-Down: Start rides with 5–10 minutes of easy pedaling. End with slow cycling and some light stretching
- Bike Fit & Comfort: Ensure saddle height and position suit your body (a poor fit causes unnecessary strain). Consider padded shorts or a gel seat to reduce discomfort.
When to See a Doctor or PT
Sharp, localized pain (especially in knees or joints). Or just constant pain that doesn’t go away with rest and/ or OTC medication.
Swelling, numbness, or tingling anywhere
inability to do basic everyday functions without physical pain
Bonus Recovery Tips
Foam rolling or massage can help ease tight muscles
Contrast baths (warm then cold water) may reduce soreness
Pedal Toward Progress One Ride at a Time
Whether your finish line is 10, 15, or 25 miles, every pedal stroke is progress. All you have to do is start.

Mukund Murali is the founder of Pedal My Way (pedalmyway.com), a cycling and fitness media brand reaching 50,000+ monthly visitors. He brings 20+ years of cycling experience spanning road, gravel, and mountain biking, with deep expertise in bike mechanics and repair. A CrossFit L1 and L2 certified trainer (2018–2023), Mukund combines strength training methodology with cycling performance to create evidence-based content for the everyday rider. He is the host of Ask The Pedalist podcast and creator of the PMW Fit workout app on Google Play.