Picture this: you’re out on your usual road loop, dodging traffic and hitting every red light, when you spot a dusty gravel path disappearing into the trees. You’ve always wondered where it leads. That curiosity? That’s exactly what draws thousands of cyclists to gravel riding every year.
Gravel cycling sits in the sweet spot between road and mountain biking — adventurous enough to feel like exploration, accessible enough for almost any fitness level. Events like Unbound Gravel have exploded in popularity, but you don’t need to race 200 miles to enjoy what this discipline offers. Most riders simply want to escape the tarmac and find something wilder.
In this post, we will cover everything you need to get started — from choosing your first gravel bike and picking the right tires, to training smart, finding great routes, and connecting with a community that shares your sense of adventure.
Table of Contents
What Is Gravel Cycling? Understanding the Fastest-Growing Cycling Discipline
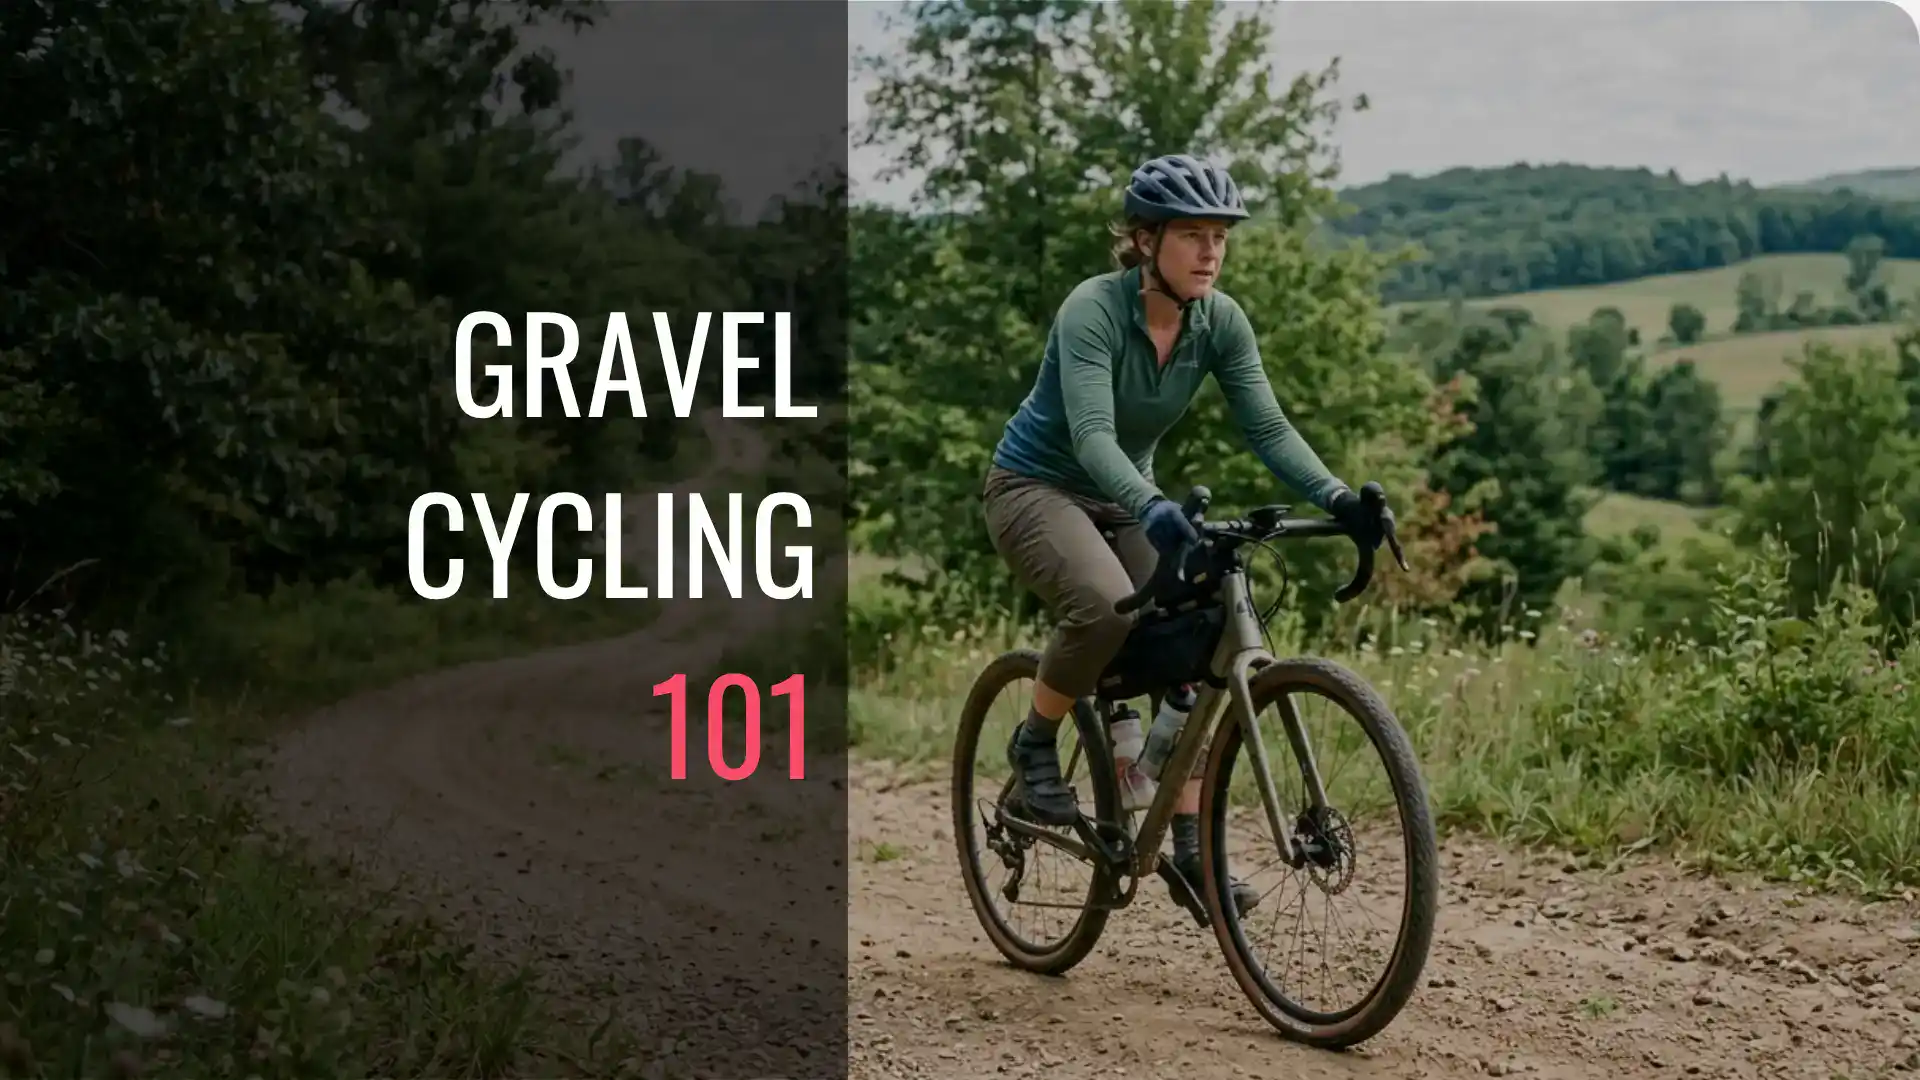
Gravel cycling is exactly what it sounds like — riding on unpaved roads, gravel paths, dirt tracks, and mixed-surface terrain on a bike purpose-built to handle it all. It’s a fantastic blend of road cycling’s speed and mountain biking’s adventure, offering the freedom to explore beyond the pavement and into genuinely wild, beautiful places away from traffic-heavy roads.
What makes gravel so appealing is its remarkable versatility and welcoming culture. Whether you want a casual weekend adventure, a serious endurance challenge, or an escape into nature, gravel riding delivers. Events range from relaxed group rides focused on camaraderie to epic 300-mile bikepacking races — and everything in between.
Key Characteristics of Gravel Cycling:
- Mixed-surface riding: Combines paved roads, packed dirt, loose gravel, and light singletrack — no two rides ever feel exactly the same.
- Comfort-oriented geometry: Gravel bikes feature a relaxed, stable frame design that makes long days in the saddle significantly more comfortable than a road bike.
- Wider tire clearance: Most gravel bikes accommodate tires between 35mm and 50mm, providing better grip, control, and vibration damping on rough surfaces.
- Adventure-ready features: Mounting points for bags and gear make gravel bikes ideal for bikepacking and self-supported rides.
- Low barrier to entry: Unlike mountain biking, gravel requires minimal technical skill to start — if you can ride a bike, you can ride gravel.
Gravel cycling offers a unique blend of adventure, versatility, and community — a refreshing escape from traditional road riding that’s accessible to almost anyone.
Choosing Your First Gravel Bike: Key Features and Budget Considerations
A gravel bike sits between a road bike and a mountain bike, built to handle loose surfaces, variable terrain, and long distances without sacrificing efficiency on pavement. The market has expanded with options across every price point, so you don’t need to spend a fortune to get something genuinely capable.
When evaluating your first gravel bike, focus on these key features rather than getting distracted by brand names or aesthetics:
Frame material:Aluminum offers the best balance of durability and value for a first bike. Steel provides a more compliant ride but adds weight, while carbon fiber is lighter but significantly more expensive.
- Tire clearance: Look for at least 40mm clearance, ideally 45–50mm, giving you flexibility to run wider tires for added comfort and grip on rougher terrain.
- Geometry: A relaxed endurance geometry with a longer wheelbase provides stability and puts you in a more upright position, reducing fatigue on long days in the saddle.
- Drivetrain: A 1x drivetrain is simpler to maintain and works well for most terrain, though a 2x setup offers finer gear increments for hilly routes.
- Disc brakes: Hydraulic disc brakes are standard on quality gravel bikes and deliver reliable stopping power in wet, muddy conditions.
- Mounting points: Prioritize mounts for bottles, fenders, and bags — these become essential for longer rides and bikepacking adventures.
- Budget: Expect to spend $1,200–$2,000 for a solid entry-level gravel bike with dependable components. Don’t forget to factor in essentials like pedals.
What Kind of
Cyclist
Are You?
Find out your cyclist type and get a personalized training plan sent straight to your inbox — built around how you actually ride.
Take the Quiz → No thanks, I'll skip thisEssential Gravel Gear: What You Need Beyond the Bike
Once you have your gravel bike sorted, the right gear can make the difference between a good ride and a truly great one. Gravel riding takes you further from civilization than road cycling, so self-sufficiency and comfort become your top priorities. You don’t need to buy everything at once — start with the essentials below and build your kit as your ride style demands.
- Helmet: Non-negotiable. Look for a well-ventilated helmet with MIPS rotational impact protection — gravel crashes often happen at low speed on loose surfaces where that extra coverage counts.
- Repair Kit: Flats in remote areas require fast, independent solutions. Carry tire levers, a plug kit, a spare tube, a patch kit, and a CO2 inflator, plus a multi-tool with hex keys and a chain breaker.
- Hydration System: Remote gravel routes may have no resupply points. Maximize your bottle cage mounts and consider a hydration pack for longer rides.
- Navigation Device: Gravel routes often lack clear signage. A GPS-enabled cycling computer loaded with your route keeps you confident and tracks your effort data.
- Appropriate Clothing: Padded bib shorts and full-finger gloves absorb vibration on rough terrain. Add a lightweight windbreaker or rain jacket for unpredictable weather.
- Lights: Even on daytime rides, a front and rear light improves your visibility to traffic, especially in dusty conditions or fading light.
Prioritise a quality helmet, a reliable repair kit, and a solid hydration system — these three essentials cover your most critical needs for safe and enjoyable gravel adventures.

Tire Selection Guide: Finding the Right Rubber for Your Terrain
Your tire choice can make or break a gravel ride more than almost any other component decision. The right rubber improves speed, comfort, and confidence — the wrong choice leaves you fighting for grip or feeling sluggish over long distances. The key is matching tread pattern, width, and pressure to the terrain you actually ride most, not the most extreme conditions you might occasionally encounter.
Tire width is your starting point. Most gravel riders settle between 38mm and 50mm — wider tires allow lower pressures for better comfort and traction, while narrower options roll faster on smoother hardpack.
- Hardpack and smooth dirt roads: A semi-slick or lightly treaded tire in the 38–42mm range delivers an efficient, fast-rolling ride.
- Mixed and varied terrain: A file tread or low-profile knobby around 40–45mm handles changing surfaces confidently without sacrificing too much speed.
- Loose, chunky, or technical gravel: Go wider at 45–50mm with pronounced center and edge knobs for grip when surfaces get unpredictable.
- Durability vs. weight: Puncture-resistant tires add grams but matter most on remote or longer rides — factor in how far from help you typically ride.
- Tubeless setup: Running tubeless-ready tires with sealant dramatically reduces pinch flats and lets you safely drop pressure for better traction.
- Tire pressure: Start around 30–40 PSI and experiment downward — lower pressure improves grip and comfort on rougher surfaces without sacrificing rim protection.
Training for Gravel: Building Endurance and Handling Skills
Gravel riding demands a unique blend of aerobic endurance, muscular strength, and technical bike handling that pure road cycling simply doesn’t prepare you for. Loose corners, steep technical ascents, and washboard descents constantly challenge your balance and coordination, while longer distances test your fitness in ways a typical weekend road ride won’t.
The good news is that you don’t need a completely different training approach — you need a smarter one. Build a strong aerobic base first, then layer in terrain-specific skills and strength work to become a well-rounded gravel rider.
- Long, steady-state rides: Aim for at least one ride of 2–4 hours per week at a conversational pace, gradually increasing duration by no more than 10% weekly to avoid burnout or injury.
- Technical skill drills: Seek out quiet gravel roads or local dirt paths to practice cornering, descending, and navigating obstacles. Focus on body position, looking ahead, and maintaining a relaxed grip.
- Standing climb intervals: Gravel climbs often demand out-of-saddle efforts on loose terrain, so incorporate standing intervals on varied gradients into your regular rides.
- Strength training: Off-bike core, glute, and upper-body exercises directly improve bike control and reduce fatigue on rough surfaces.
- Fatigue riding practice: Towards the end of longer rides, intentionally tackle more challenging terrain to build the focus and control you’ll need when it matters most.
Combine your endurance base with specific skill work and strength training to handle whatever the gravel throws at you.
Finding Gravel Routes: Apps, Resources, and Route Planning
One of the best parts of gravel cycling is the sheer variety of terrain waiting to be explored — but knowing where to start can feel overwhelming. Fortunately, the gravel community is incredibly generous with route sharing, and there are excellent tools to help you discover rides right in your backyard.
Before heading out, always cross-reference multiple sources. A route that looks rideable on an app may include seasonal roads, private land, or washed-out sections. A little planning upfront saves a lot of suffering out there.
- Komoot is purpose-built for adventure cycling, offering detailed surface-type breakdowns — paved, gravel, singletrack — so you know exactly what to expect, plus excellent turn-by-turn navigation.
- Strava‘s Global Heatmap and Route Builder show where cyclists are actually riding, making it easy to identify popular local gravel corridors and draw your own custom routes.
- RideWithGPS is a favourite among serious gravel riders for its precise elevation profiling, detailed mapping, and downloadable offline maps — essential when riding remote areas with no cell signal.
- Google Maps Satellite View is a secret weapon for surface confirmation. Visually inspect any road before committing — what looks rideable on a planning app may tell a very different story from above.
- Local cycling clubs and Facebook groups are goldmines for unpublished routes that only insiders know about. Don’t underestimate the power of simply asking.
Whatever tools you use, always download routes offline to a GPS device or phone before heading out — gravel roads frequently pass through dead zones where live navigation fails.
Your First Gravel Event: What to Expect and How to Prepare
Gravel events are some of the most welcoming experiences in cycling — more relaxed and collaborative than road racing, with riders of all abilities lining up together. For most participants, it’s about personal challenge and camaraderie far more than the podium. That said, a little preparation goes a long way.
Study the course profile. Review the route map and elevation beforehand. Know where major climbs, technical sections, and aid stations fall so you can manage your effort strategically.
Practice your nutrition plan. Dial in your fueling during long training rides before race day. Know how many calories and how much fluid you need per hour — and never introduce new food or drink products during an event.
Prep your bike. A few days before, check tire pressure, brake pads, chain lubrication, and bolt tightness. Consider a professional tune-up if you’re unsure.
Carry basic mechanicals. Pack a spare tube, tire plugs, levers, a pump, and a multi-tool. Aid stations exist, but self-sufficiency is part of the gravel ethos.
Start conservatively. Event-day adrenaline will tempt you to go out too hard — resist it. Settle into a sustainable pace early, especially on longer distances.
Embrace the walk. Pushing through an unrideable section is completely normal and costs far less energy than crashing trying to clean it.
Celebrate the finish. Cross that line, grab some food, and swap stories — the post-event atmosphere is half the gravel experience.
Safety and Maintenance: Staying Safe on Remote Gravel Roads
Gravel riding often takes you to beautiful, remote places — and that’s exactly the appeal. But self-sufficiency isn’t optional out there, it’s essential. A mechanical problem that would be a minor inconvenience on a city bike path can become a serious situation when you’re 20 miles from the nearest town with no cell service.
Being prepared for common issues before they happen keeps your adventures fun rather than frightening.
- Pre-ride bike check: Before every ride, inspect tire pressure, brake function, chain lubrication, and ensure all bolts, quick releases, or thru-axles are tight. This simple routine prevents most common mechanical failures. Take a look at this checklist before every ride.
- Carry a flat repair kit: Flats are almost inevitable on gravel. Pack two spare tubes, tire levers, a patch kit, and a reliable pump or CO2 inflator — and practice using them at home so you’re not fumbling roadside.
- Share your route: Tell someone your planned return time and what to do if they don’t hear from you, especially on solo rides.
- Download offline maps: Cell service disappears fast on remote roads. Apps like Komoot allow full offline navigation, and carrying a power bank keeps your devices alive.
- Carry more than you think you need: Remote gravel roads rarely have resupply points. Pack extra water, emergency snacks, and a small first aid kit — dehydration and bonking become safety issues in isolated areas.
- Use lights even in daylight: Lights improve your visibility to vehicles, especially around blind corners or when emerging from shaded sections.
Building Your Gravel Community: Finding Fellow Riders and Groups
One of the best-kept secrets about gravel cycling is how welcoming the community is. Unlike some competitive cycling scenes, gravel culture genuinely embraces riders of all backgrounds and fitness levels. Sharing the experience with others adds a whole new dimension — offering camaraderie, shared knowledge, and a safety net on longer rides. A good riding buddy or supportive group can keep your motivation high and transform your adventures entirely.
Finding your tribe doesn’t have to be complicated. Here’s where to look:
Local bike shops are almost always the best starting point — most host weekly gravel-specific rides, and staff are usually well-connected and happy to point you in the right direction.
Strava clubs and Facebook groups dedicated to gravel in your region are great for finding riding partners and discovering hidden local routes.
Gravel events and gran fondos naturally attract like-minded riders — sign up for a local event and you’ll leave with new riding buddies almost guaranteed.
Reddit communities like r/gravelcycling offer a friendly space for gear questions, route suggestions, and connecting with riders worldwide.
Cycling apps like Komoot and Strava have built-in community features where local riders share routes, leave trail condition updates, and organise group rides.
Consider volunteering at gravel events — a brilliant way to meet the core community and absorb the culture before you even pin on a race number.
Actively seek out local shops, online groups, and events to connect with fellow gravel riders. A strong community enhances every ride — offering support, motivation, and countless new adventures.
Gravel Cycling - Off-Road Exploration on 2 Wheels
Gravel cycling is one of the most rewarding ways to explore the world on two wheels. Whether you’re chasing epic backcountry routes or just escaping the traffic for a few hours, there’s a freedom to gravel riding that’s genuinely hard to find anywhere else. Start simple, build gradually, and don’t overthink the gear.
Every gravel legend out there once stared down their first unpaved road with the same mix of excitement and nerves you might be feeling right now. So clip in, point your wheels toward the dirt, and enjoy every muddy, beautiful mile of the journey ahead.
Related Cycling and Training Content
PEDAL MY WAY NEWSLETTER
Weekly training tips, cycling strategies, and fitness insights for sustainable performance.
No spam—just actionable guidance to help you train smarter.