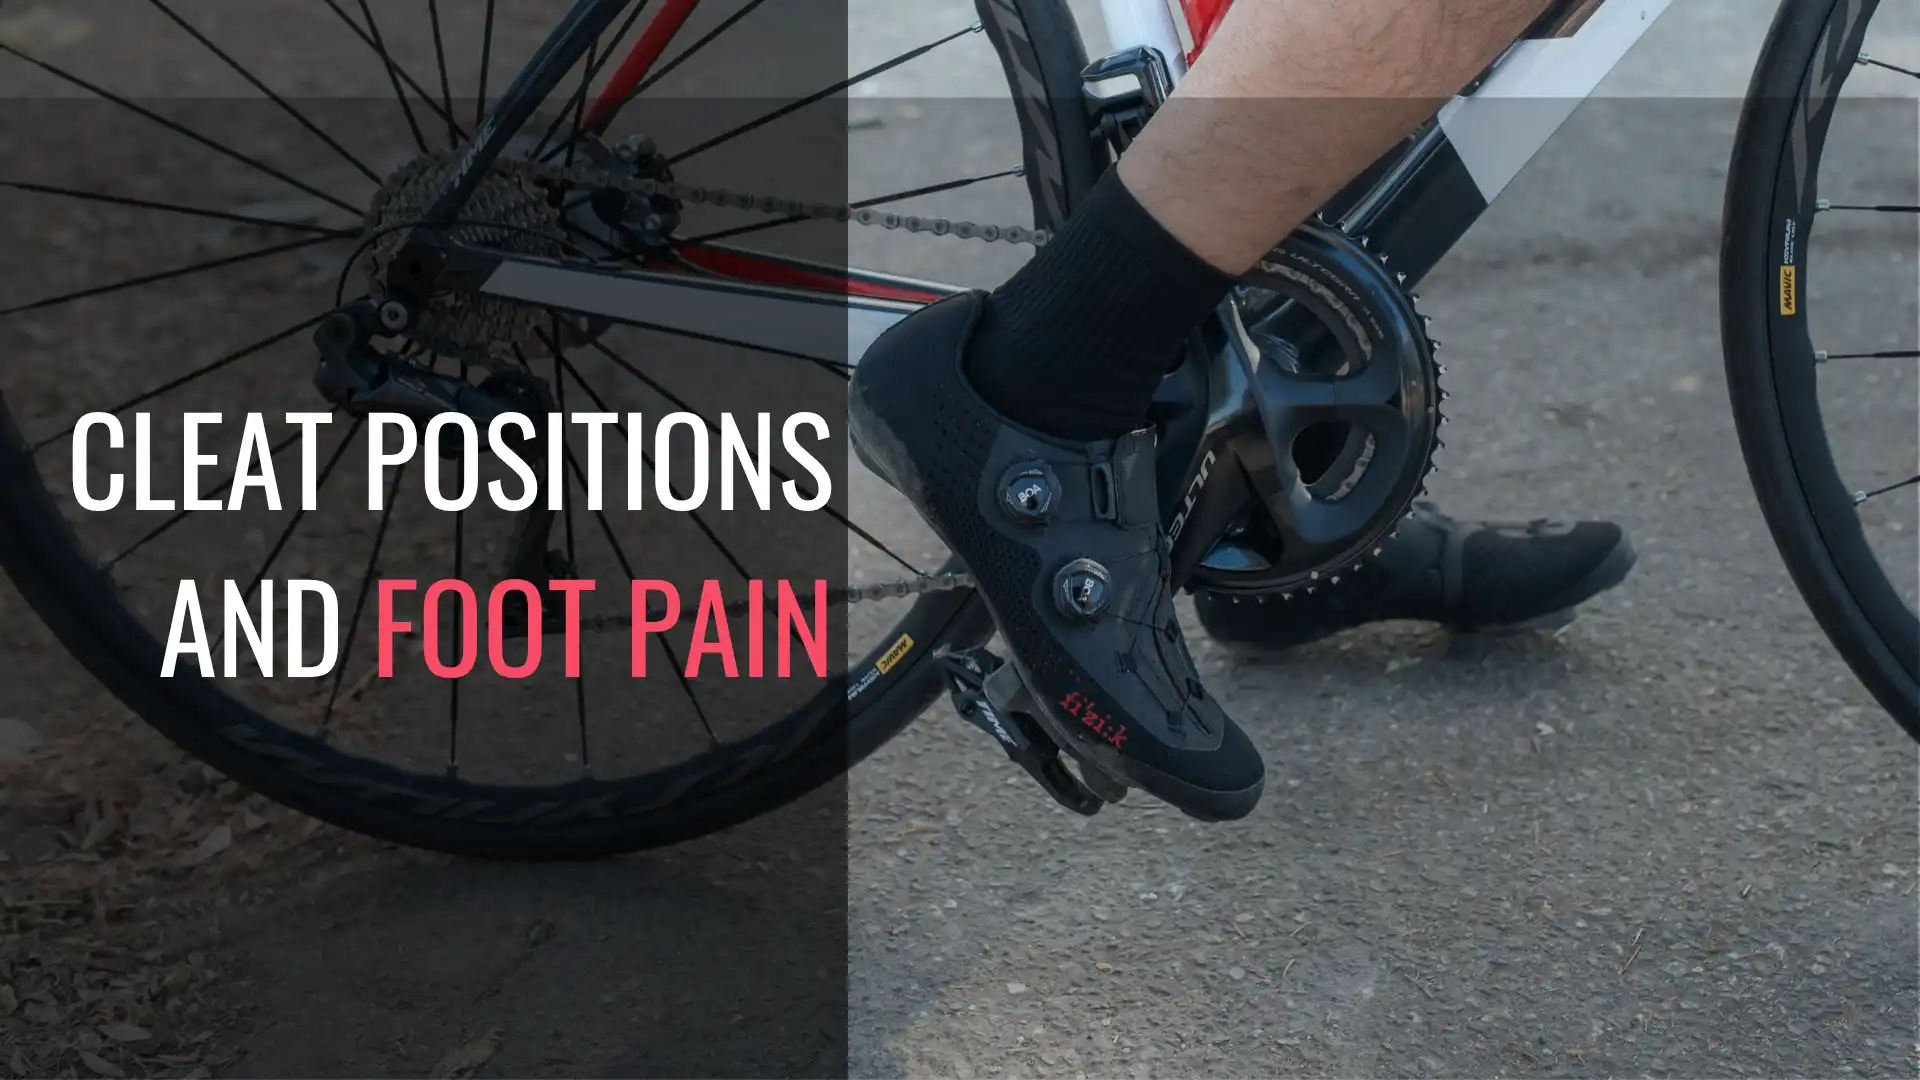
Your cycling shoes and cleats – they are one of three points of contact with your bike. The other two being the seat and handlebars. A shoe that is the wrong size or cleats in the wrong position would lead to discomfort, sometimes showing as a dull ache creeping under the ball of your foot, for example. On-the-bike adjustments – in the saddle, wiggling your toes inside your shoe, or maybe standing up on the pedals for a few strokes might provide temporary respite. But the discomfort might fade only for a minute. By the time you roll home, you will be blaming the shoes.
Here’s the thing — nine times out of ten, the shoes aren’t the problem. The way your cleats are positioned underneath them is. A few millimeters of adjustment in the wrong direction can quietly wreck your knees, torch your arches, and turn every long ride into a pain management exercise.
I’ve done minor adjustments after many rides to fine tune my riding position, and I’ve watched it happen to plenty of other riders who had perfectly good gear and still couldn’t figure out why their feet hated them. In this post, we will walk through cleat placement fore and aft, rotational alignment, arch support, and when it’s finally time to get a professional set of eyes on your setup.
Table of Contents
The Impact of Fore and Aft Cleat Placement
Fore and aft placement determines how your power transfers through the pedal stroke and which structures in your foot absorb the load. Moving a cleat just a few millimeters changes everything — pressure distribution, calf engagement, and whether you finish a ride feeling strong or hobbling to the car.
- Too far forward overloads the metatarsals: When the cleat sits too close to the toe, your forefoot absorbs forces it was never designed to handle at high cadences — that’s the burning sensation most cyclists mistake for a shoe fit problem.

- Moving the cleat back improves endurance comfort: A more midfoot position distributes pressure across a larger surface area, reduces stress on the smaller bones and nerves in the forefoot, and shortens the lever arm at the ankle so your calf works less aggressively on long rides.
- Forward positions suit short efforts: If explosive sprinting is the goal, a more forward position can feel more direct — just be mindful of the comfort trade-offs over distance.
- Small increments matter most: Move your cleat one to two millimeters at a time, ride for several days, and assess honestly before making another change.
Before your next ride try shifting your cleats forward (or back) 2–3 millimeters and note how your feet feel by the end of your next ride.
Adjusting Cleat Rotation to Protect Knees and Ankles
If you feel a nagging tweak in your knee or ankle after a long ride, or your saddle height feels off? Often the culprit is cleat rotation — the subtle angle your foot sits at when clipped in. Our bodies are rarely symmetrical, and forcing feet into a “perfect” straight line creates twisting forces on your joints with every pedal stroke.
Most modern clipless systems offer float — built-in rotational freedom — but float is not a substitute for getting your cleat rotational alignment right from the start. Here is how to approach it systematically.
- Find your natural foot angle first. Stand relaxed, look down, and notice how your toes point. That slight inward or outward angle is your starting reference point — not a diagram.
- Start with maximum float, then dial back. High float gives your joints breathing room while you find your ideal position. Locking into zero float too early is one of the fastest ways to develop lateral knee pain.
- Watch for knee tracking during pedaling. If your knee drifts inward or flares outward through the stroke, your heel-in or heel-out cleat angle needs adjusting — not your saddle height.
- Adjust in small increments only. Rotating a cleat even two degrees feels dramatic on the bike. Make one change, ride for a few days, and assess before touching anything else.
- Check ankle discomfort separately. Achilles tightness often signals your cleat is rotated too far from your natural angle.
Give this a try – stand up, let your feet fall naturally, and photograph that angle — it becomes your baseline for every cleat adjustment going forward.
Exploring the Role of Arch Support and Custom Insoles
Even after you’ve moved your cleats forward and back, and dialed in the float, foot still aches after an hour in the saddle. The culprit is often inside your shoe the whole time. Most cycling shoes ship with insoles that are flat, generic, and assume every foot works the same way — and a stiff sole can only do so much if the foundation inside isn’t supporting your foot’s natural structure.
The arch is the direct connection between your power source and the pedals. When it collapses under load, that stress travels upward into your ankle, knee, and hip — and you lose efficiency with every stroke. A small fix here can change how the whole chain feels.
- Assess your arch type first: Know whether you have a low, neutral, or high arch before buying anything. A simple wet foot test on cardboard gives you a quick baseline.
- Start with over-the-counter cycling insoles: Brands like Superfeet or Specialized Body Geometry provide real structure at a fraction of custom orthotics cost. Look for firm, consistent support — soft and cushy prevents neither arch collapse nor hot spots.
- Upgrade to custom orthotics: if standard insoles don’t resolve the issue after a few weeks. A podiatrist familiar with athletes will understand cycling-specific demands, not just walking mechanics.
- Wedging and shimming: address forefoot varus or valgus angles that insoles alone can’t fix — the logical next step if insoles help but don’t fully solve the problem.
Try pulling out your stock insoles and standing on them — notice where your foot is, and isn’t, supported. That will be a good place to narrow this down.
Recognizing When to Invest in a Professional Bike Fit
You’ve made all the changes suggested above but your foot still aches by mile 20. That’s usually the moment a professional bike fit stops being optional and starts being the most practical thing you can do. A good fit isn’t about chasing marginal gains — it’s about making your rides more enjoyable, sustainable, and pain-free.
A good fitter looks at your entire kinetic chain, not just cleat position in isolation. Here’s when to stop DIYing and book the appointment:
- Pain that shifts locations: If discomfort moves from your ball of foot one ride to your heel the next, something upstream is compensating. No cleat tweak fixes that reliably.
- Numbness starting before mile 30: Early-onset numbness signals pressure point problems that require dynamic assessment, not static guesswork at your workbench.
- One foot hurts and the other doesn’t: Asymmetrical pain almost always points to a leg length difference or hip imbalance a fitter can properly measure and address.
- Knee or back pain alongside foot pain: These together suggest a mechanical alignment issue running deeper than cleat placement alone.
- You’ve recently changed a major component: A new saddle, pedals, or bike can throw off your entire position in ways that aren’t immediately obvious.
- You’ve adjusted your cleats three or more times: At that point you’re guessing, and a fitter has the tools to actually watch your pedal stroke in real time.
Find a fitter who uses video analysis and book it before next season. You need some time to get used to the new fit, so do it pre or post season to avoid injuries.
Your Feet Have Been Trying to Tell You Something — Time to Listen
Most foot pain on the bike isn’t bad luck or weak anatomy — it’s your setup quietly asking for a small correction. A few millimeters of cleat position, a little float adjustment, or a decent insole can completely change how your rides feel. I’ve seen it happen for myself and for riders who had nearly quit because of chronic pain. The fixes are usually simpler than you’d expect.
Start with what you can control today before spending money on anything else. Move your cleats back toward the arch, give yourself some rotational float, and pay attention to where the pain actually lives — that feedback is useful data, not just discomfort to push through.
Action after the next ride: Take your shoes off, find the ball of your foot, and check whether your cleat is sitting in front of it. If it is, slide it back 3–4mm. Test it out by riding a short loop before your next long ride.
Related Cycling and Training Content

Mukund Murali is the founder of Pedal My Way (pedalmyway.com), a cycling and fitness media brand reaching 50,000+ monthly visitors. He brings 20+ years of cycling experience spanning road, gravel, and mountain biking, with deep expertise in bike mechanics and repair. A CrossFit L1 and L2 certified trainer (2018–2023), Mukund combines strength training methodology with cycling performance to create evidence-based content for the everyday rider. He is the host of Ask The Pedalist podcast and creator of the PMW Fit workout app on Google Play.